Sourdough Bread Recipe – Homemade Classic Artisan Loaf
Before commercial yeast was widely available, many families kept a sourdough starter passed down through generations, using it to create bread that sustained families through seasons and years. This distinctive bread with its tangy flavor and chewy texture represents something profound about home baking—the knowledge that you can create something delicious and nourishing from just flour, water, salt, and time. Sourdough connects us to centuries of baking tradition, when every loaf was naturally leavened and every baker developed their own sourdough culture. Whether you’re beginning your sourdough journey, reviving an old starter you’ve inherited, or simply want to understand this beloved bread, this homemade sourdough bread recipe delivers authentic results with accessible techniques suitable for beginners and experienced bakers alike.
Sourdough Bread: Quick Reference
Ingredients You’ll Need
Basic Ingredients:
- 1 cup active sourdough starter (fed and bubbly)
- 1 1/2 cups warm water (around 75-80°F)
- 5-6 cups all-purpose flour
- 2 1/2 teaspoons salt
- 1 tablespoon sugar
Optional Equipment & Additions:
- Dutch oven or covered baking vessel
- Parchment paper
- Cornmeal for dusting
- Shallow pan for steam
- Sharp knife or bread scoring blade
Understanding Sourdough: History and Heritage
Sourdough represents one of humanity’s oldest and most reliable methods of leavening bread. Long before commercial yeast became available in the late 19th century, bakers relied on wild yeast and lactobacillus bacteria naturally present in flour and the environment to ferment dough. These microorganisms transformed simple flour and water into a living culture capable of raising bread. Every sourdough starter is unique, containing the specific yeasts and bacteria from its particular location and the hands that tend it.
The word “sourdough” comes from the distinctive sour flavor created during fermentation, as lactobacillus produces lactic acid that gives the bread its characteristic tang and complexity. Gold Rush miners in California became so associated with sourdough that they were nicknamed “sourdoughs,” and San Francisco sourdough became legendary for its distinctive flavor profile created by the region’s unique microbiota.
Sourdough baking represents something deeper than just producing bread—it’s a form of preservation and continuity. Starters can survive for decades or even centuries if properly maintained, creating an unbroken chain connecting modern bakers to their ancestors. The act of feeding a starter, watching it bubble and grow, and then baking with it creates a relationship with your food that industrial baking cannot replicate.
What Makes This Sourdough Bread Special
Unlike commercial yeasted breads that rely on packaged cultures to rise quickly, sourdough develops flavor over time through a long fermentation process. The extended rising time allows the dough to develop complex flavors naturally while breaking down the wheat proteins and making the bread more digestible. The result is bread with remarkable depth, tang, and texture that tastes fundamentally different from quick-rising varieties.
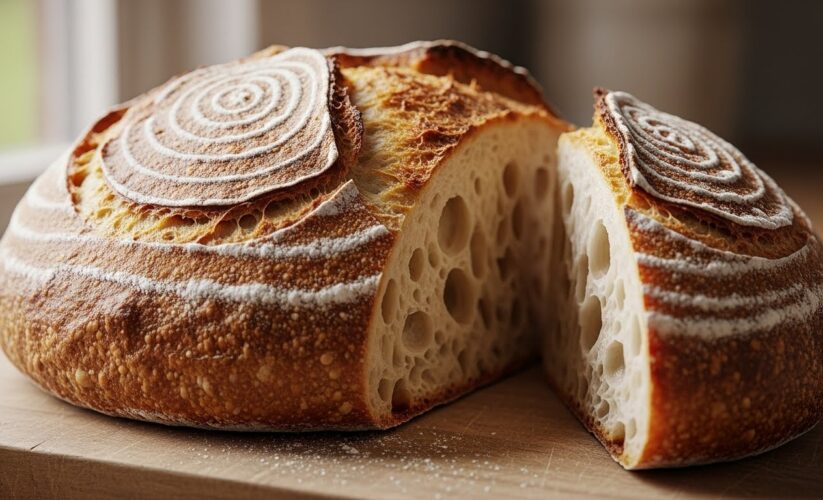
The chewy texture of sourdough comes from the fermentation process and the steam created during baking. The long, slow rise develops gluten structure without aggressive kneading, creating an open crumb structure that feels tender yet substantial. The crust develops through steam and proper oven heat, creating a crispy exterior that contrasts beautifully with the tender, complex interior.
Understanding Your Sourdough Starter
Before making this bread, you need an active sourdough starter. This is a living culture of wild yeast and bacteria maintained through regular feedings of flour and water. If you don’t have a starter, you’ll need to create one by combining flour and water and allowing wild yeasts to colonize it over five to seven days. During this time, feed it once or twice daily, observing as it develops characteristic bubbles and sour aroma.
An active starter should be bubbly, roughly doubled in size, and smell pleasantly sour with a slight alcohol note when ready to use. If your starter is sluggish, feed it and let it rest at room temperature for several hours until visibly active. The warmth of your kitchen affects fermentation speed—warmer kitchens produce faster fermentation, while cooler kitchens require more time. This is normal and expected.
How to Make Sourdough Bread
Step 1: Create the Initial Mixture
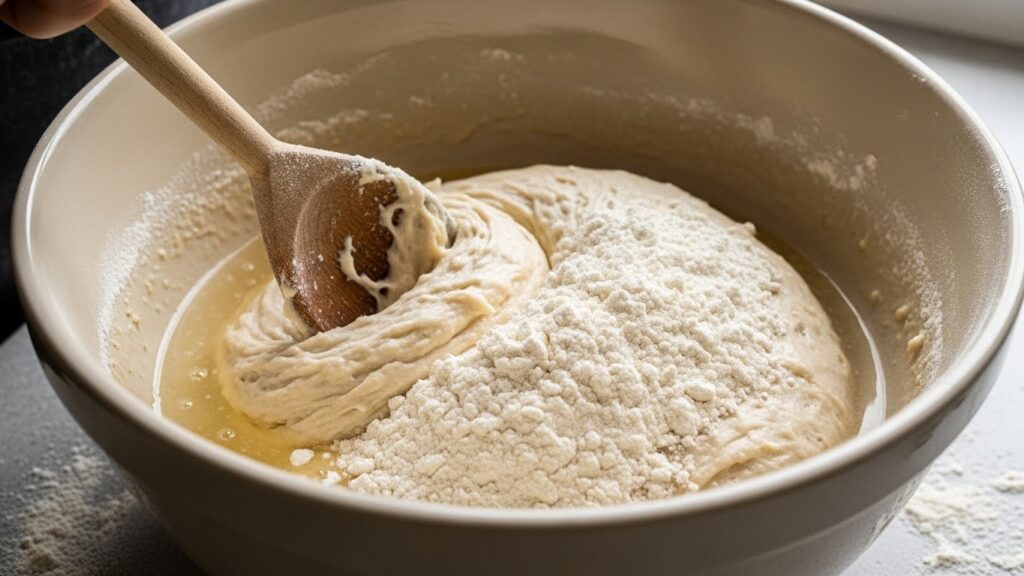
In a large mixing bowl, combine 1 cup active sourdough starter with 1 1/2 cups warm water. The water temperature matters—aim for around 75-80°F, warm to the touch but not hot. Stir these together until well combined. Add 3 cups all-purpose flour and mix thoroughly until no dry flour remains. This mixture, called the autolyse, begins the fermentation process immediately.
Step 2: Initial Fermentation
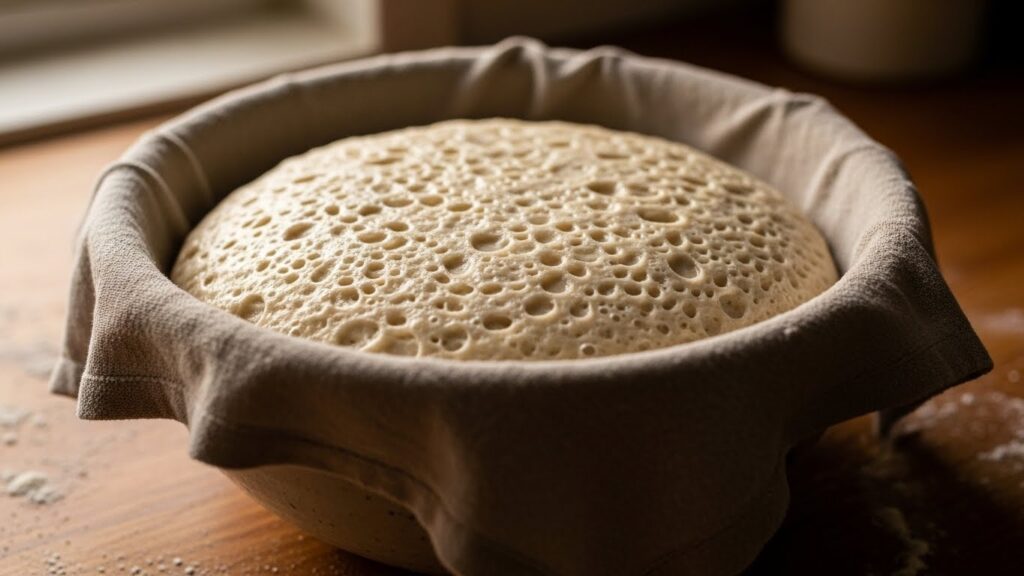
Cover the bowl with a damp cloth or plastic wrap and let sit at room temperature for 2 to 4 hours. During this time, the flour hydrates, gluten develops naturally, and the yeast and bacteria begin fermenting. You should see the mixture become increasingly bubbly and rise noticeably. Warmer kitchens may ferment faster—check periodically and proceed when the mixture is noticeably bubbly and risen.
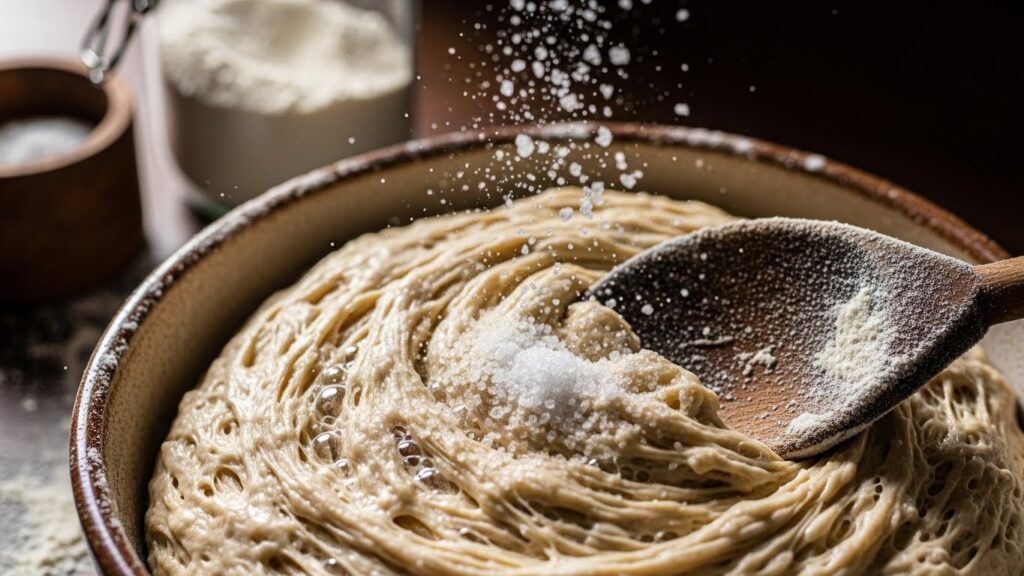
Step 3: Add Salt and Remaining Flour
After the initial fermentation, add 2 1/2 teaspoons salt and 1 tablespoon sugar. These seem like small additions but serve important purposes—salt strengthens gluten development and adds flavor, while sugar provides additional food for the yeast. Add the remaining 2-3 cups flour gradually, mixing until you have a shaggy dough that’s stiff but still workable.
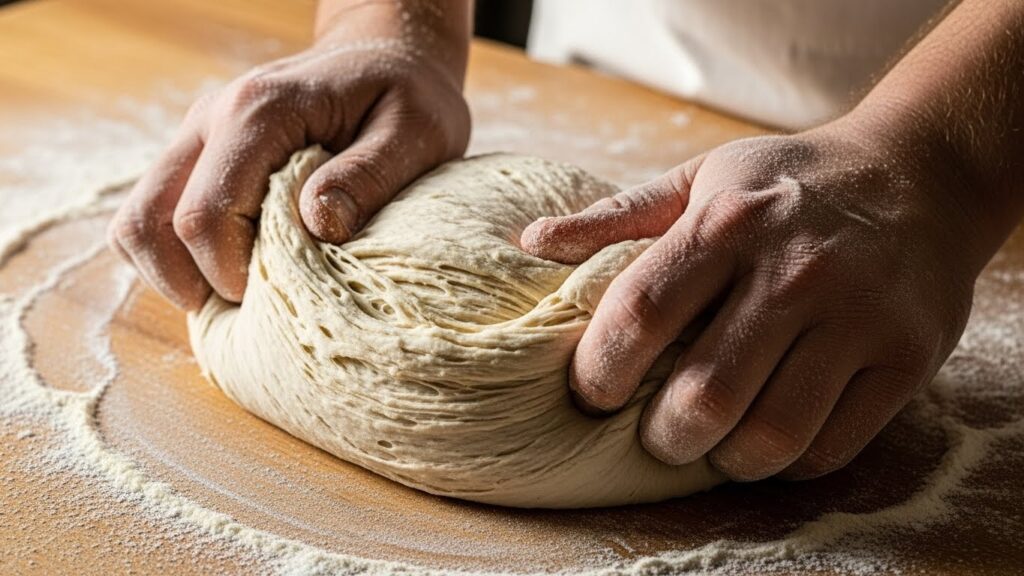
Step 4: Knead the Dough
Turn the dough onto a lightly floured surface and knead for 10 to 15 minutes. The dough will gradually become smoother and more elastic as gluten develops. You’ll notice the transformation from rough, shaggy texture to smooth, cohesive dough. If the dough seems too wet and sticky, add flour gradually—a teaspoon at a time. If it seems dry and crumbly, add water a tablespoon at a time. Good sourdough dough feels slightly tacky but holds together.
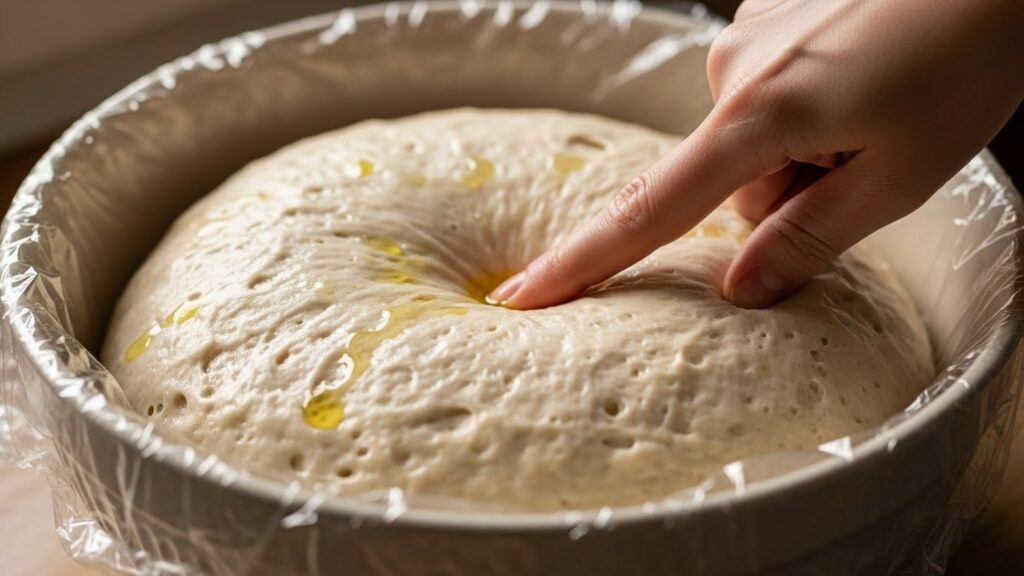
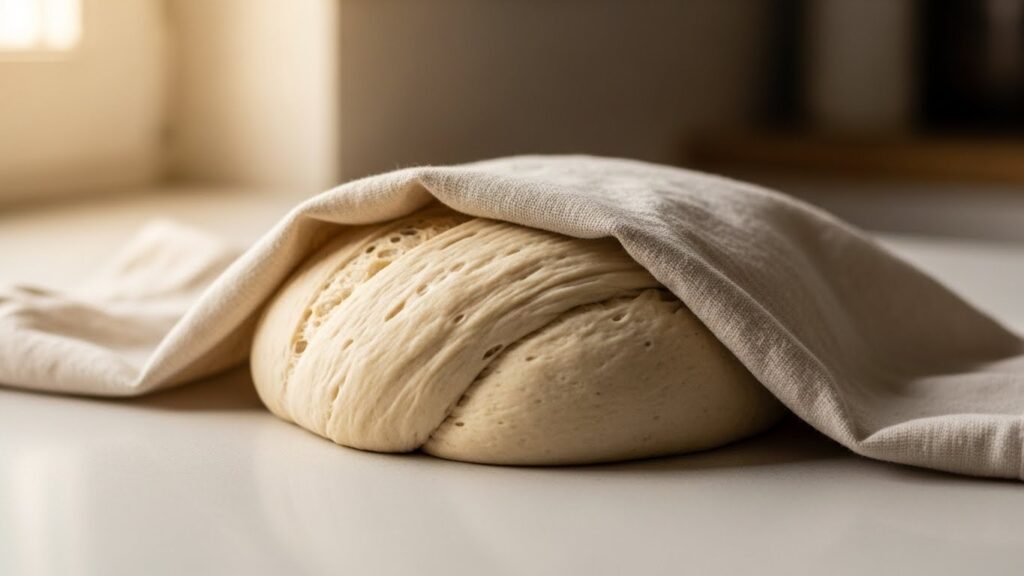
Step 5: First Rise
Place the kneaded dough in a lightly greased bowl and cover with a damp cloth or plastic wrap. Let rise at room temperature until roughly doubled in size, approximately 1 to 2 hours depending on kitchen temperature. A good test is the poke test—gently poke the dough with a floured finger. If the indentation springs back slowly, the dough is ready. If it springs back quickly, it needs more time. If it doesn’t spring back, it may be overproofed.
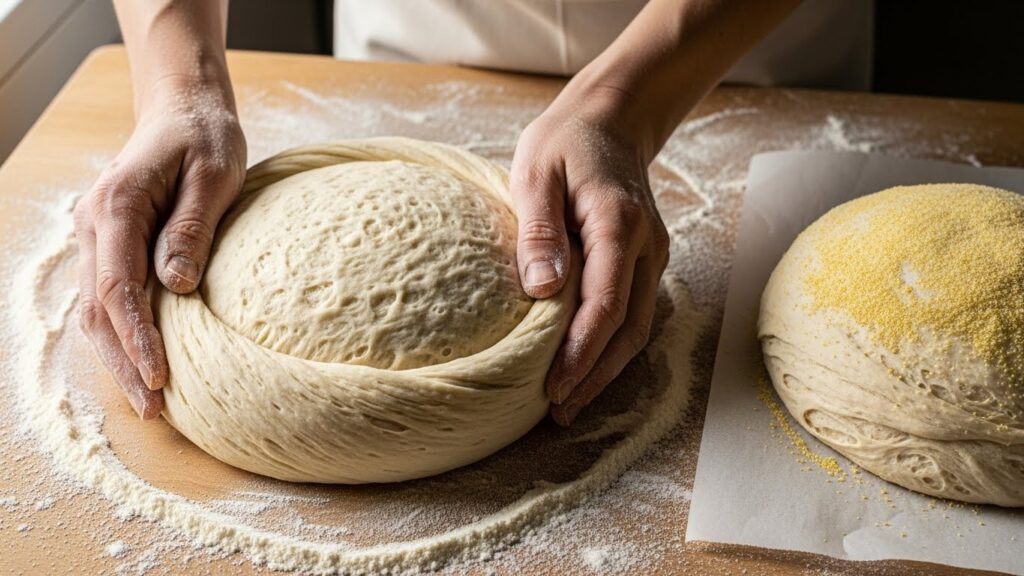
Step 6: Shape the Loaf
Punch down the risen dough gently to release excess gas. Turn onto a lightly floured surface and shape into a round or oval loaf. Create tension by gently pulling the dough toward you, rotating slightly as you work. This creates surface tension that helps the loaf rise upward rather than spreading outward. Place the shaped loaf on a parchment-lined baking sheet that’s been dusted with cornmeal.
Step 7: Final Rise
Cover the shaped loaf with a damp cloth or plastic wrap and let rise at room temperature until nearly doubled in size, about 1 hour. Again, use the poke test to gauge readiness. The dough should rise noticeably but not completely double—you want it puffy but still responsive.
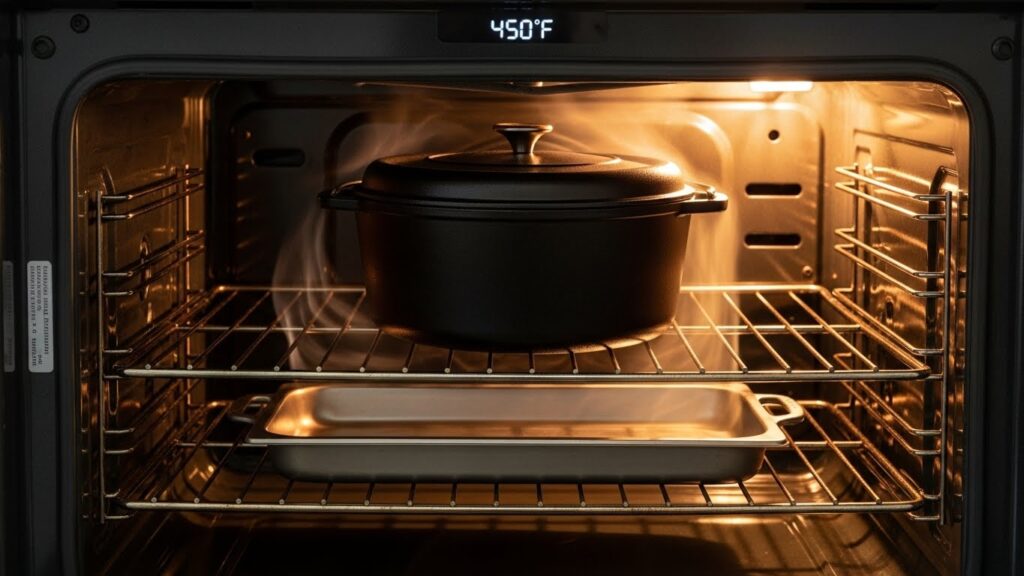
Step 8: Prepare for Baking
About 30 minutes before baking, preheat your oven to 450°F. Place a shallow pan on the bottom oven rack—this will hold water to create steam, which creates the beautiful crust. If using a Dutch oven, preheat it as well. The hot Dutch oven traps steam around the bread, creating an exceptional crust.
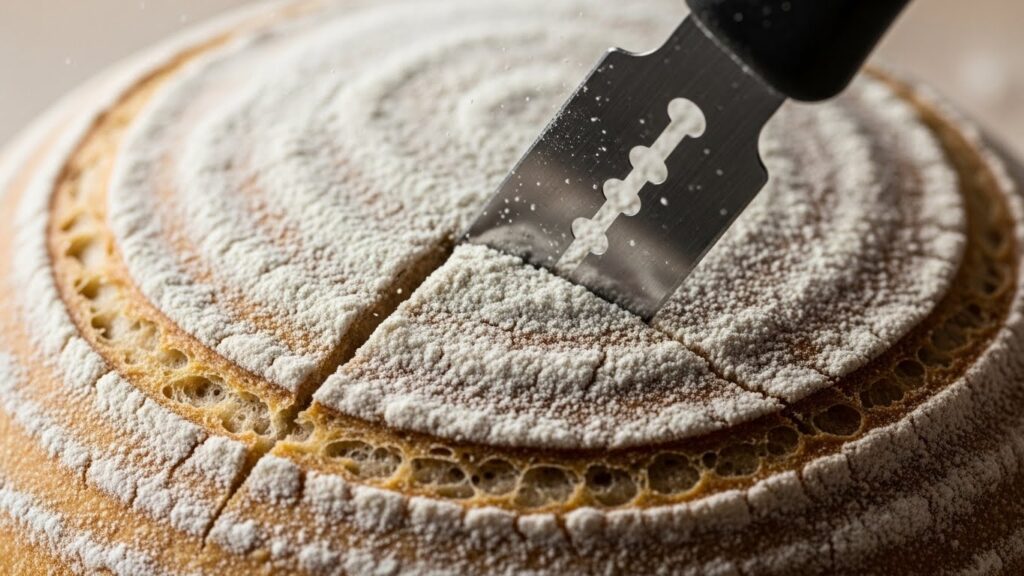
Step 9: Score the Loaf
Using a sharp knife or bread scoring blade, make a 1/4-inch deep slash across the top of the loaf. A single decisive slash works beautifully and is the classic approach. You can also make decorative crosshatch patterns if desired. The score controls where the bread expands, creating an attractive ear along the slash.
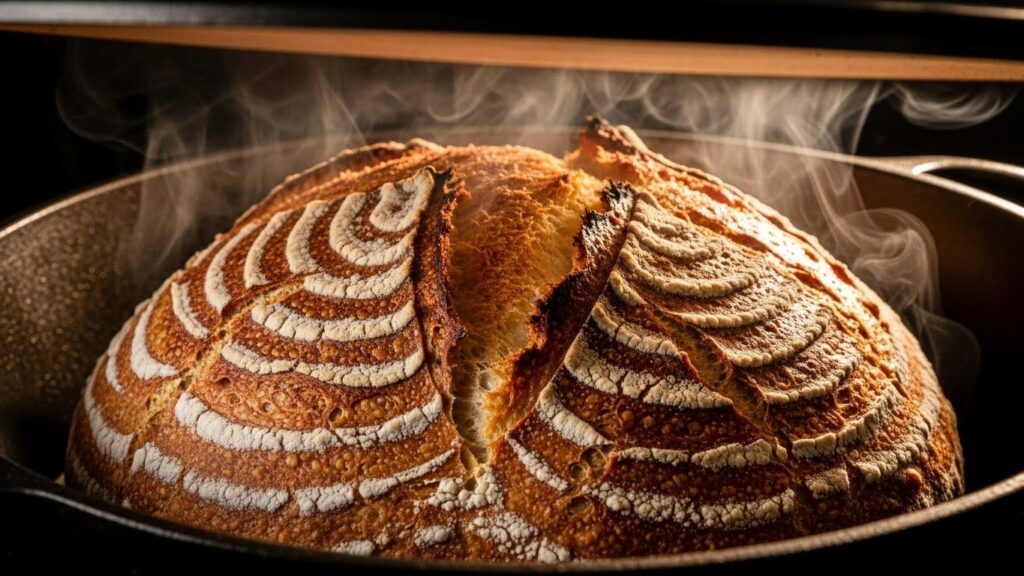
Step 10: Bake with Steam
Carefully place the bread in the preheated oven. If using a Dutch oven, place the loaf on parchment inside, then cover with the hot lid. If baking on a sheet, immediately pour 1 cup of hot water into the shallow pan on the bottom rack. Close the door quickly to trap steam.
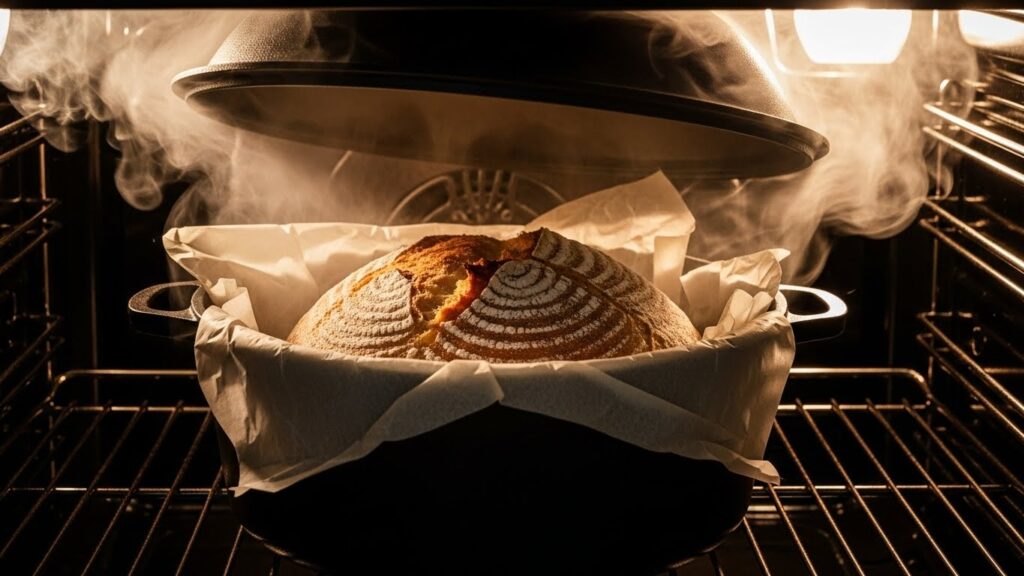
Step 11: Monitor Baking
Bake for 25 to 30 minutes until the loaf is deep golden brown and sounds hollow when tapped on the bottom. The crust should be crispy and firm. Remove the Dutch oven lid (if using) about halfway through to allow the crust to develop color. The internal temperature should reach 205-210°F when measured with an instant-read thermometer inserted into the center.
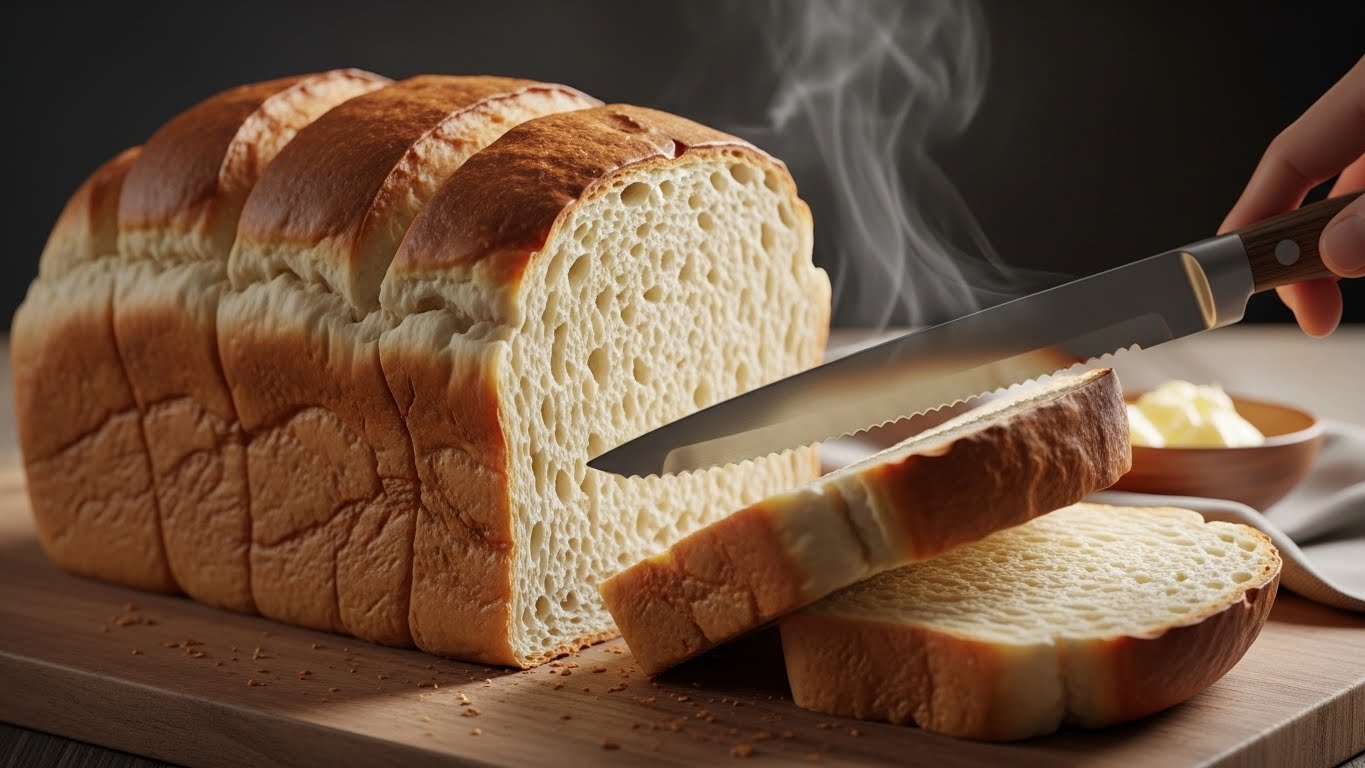
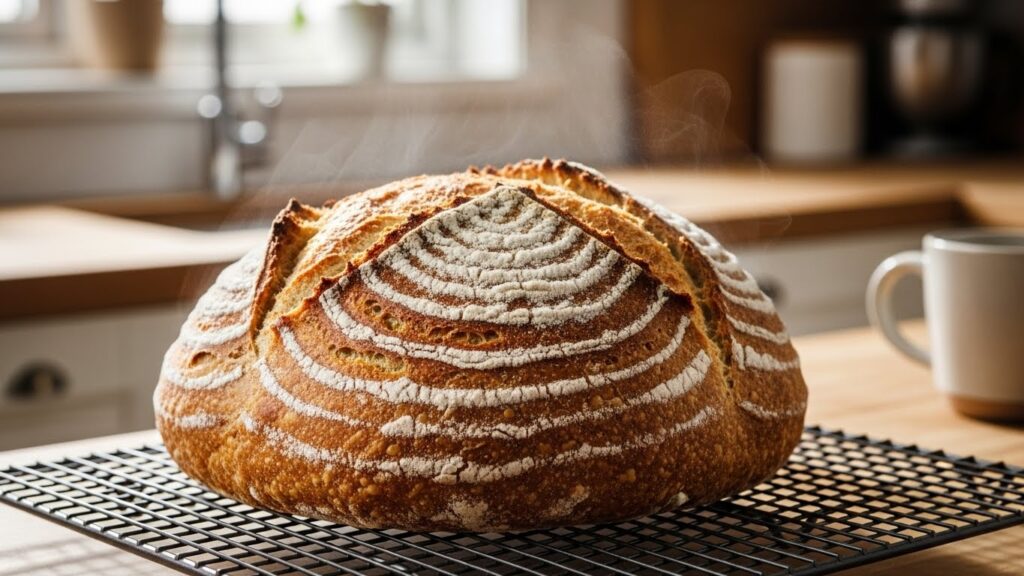
Step 12: Cool Completely
Remove from the oven and transfer to a wire cooling rack. This is crucial—the bread continues cooking internally as it cools, and steam escapes. Resist the urge to slice immediately. Wait at least 30 minutes, ideally 1-2 hours, before cutting. Cutting too early results in gummy interior as steam hasn’t fully escaped.
Pro Tips for Perfect Sourdough Bread
Temperature Matters: Sourdough fermentation is temperature-dependent. Warmer kitchens (75-80°F) ferment faster, while cooler kitchens require more time. Adjust your timing accordingly but don’t rush—cold fermentation develops better flavor.
Trust the Poke Test: Rather than watching the clock, rely on the poke test to determine when dough is ready. This accounts for temperature variations and produces more reliable results than strict timing.
Maintain Your Starter: Feed your starter regularly—once or twice daily if kept at room temperature, or once or twice weekly if refrigerated. A healthy, active starter is essential for successful sourdough.
Use a Dutch Oven: If you have one, a Dutch oven dramatically improves results by trapping steam and creating exceptional crust. If not, the water pan method works well.
Score Decisively: A confident, decisive score is more effective than hesitant slashes. Hold the blade at about a 45-degree angle and slice cleanly.
Watch the Color: Sourdough should be deep golden brown, not pale. Longer baking develops deeper flavor and better crust development.
Cool Completely: Patience with cooling is essential. Slicing too early results in gummy crumb structure that improves dramatically after full cooling.
Hydration Affects Results: Wetter dough creates more open crumb structure. If you prefer tighter crumb, reduce water slightly. If you prefer more open structure, add a bit more water.
Making Sourdough Bread for Beginners
If you’re new to sourdough, start with this basic recipe and don’t overthink the process. Sourdough is forgiving—the fermentation will happen naturally if you wait long enough. Resist the urge to rush by adding extra yeast or forcing faster fermentation. The long, slow process is what creates the distinctive flavor and texture.
Keep notes about your process, timing, and results. This helps you understand your specific kitchen’s fermentation rate and make adjustments for future batches. After making sourdough several times, you’ll develop intuition about when dough is ready based on how it looks, feels, and smells rather than relying entirely on timing.
What Is Sourdough Bread
Sourdough bread is naturally leavened bread made with wild yeast and lactobacillus bacteria present in a sourdough starter. Unlike commercial yeast breads that rely on packaged cultures to rise quickly, sourdough develops flavor and rise over a long fermentation period. The distinctive tangy flavor comes from lactic acid produced by the lactobacillus during fermentation. The chewy texture results from extended fermentation and steam during baking.
Is Sourdough Bread Healthy
Yes, sourdough offers nutritional advantages over many other breads. The long fermentation process breaks down phytic acid, which can inhibit mineral absorption, making sourdough more nutritious than quick-risen breads. The lactobacillus produces lactic acid, which aids digestion. Many people with mild gluten sensitivity find sourdough more digestible than other wheat breads, though people with celiac disease still cannot eat regular wheat sourdough.
The fermentation also develops beneficial probiotics, particularly if the bread hasn’t been baked at extremely high temperatures. Some research suggests that sourdough fermentation can reduce the glycemic index, meaning it affects blood sugar more gradually than regular bread. The long fermentation also develops more complex flavors, allowing you to feel satisfied with smaller portions.
How Long Does Sourdough Bread Last
Properly stored sourdough bread keeps at room temperature for 2 to 3 days before developing visible mold or becoming stale. Store it in a bread box or paper bag rather than plastic, which traps moisture and encourages mold growth. For longer storage, freeze sourdough for up to 3 months. Wrap tightly in plastic wrap and then aluminum foil before freezing to prevent freezer burn.
To refresh stale sourdough, sprinkle the loaf lightly with water and heat in a 350°F oven for 5 to 10 minutes. This revives the crust and softens the crumb without fully toasting it. The result closely approximates freshly baked bread.
Why Is My Sourdough Bread Dense
Dense sourdough typically results from one of several issues. Underproofing—not allowing enough fermentation time—produces heavy, compact crumb. Overproofing—allowing the dough to rise too long—exhausts the yeast and results in gummy, dense bread that doesn’t hold its shape. A sluggish starter that’s not active enough won’t produce sufficient lift. Temperature also affects density—cold fermentation produces denser crumb than warm, while extremely warm temperatures can overproof quickly.
To troubleshoot, use the poke test to ensure proper proofing. Feed your starter more frequently or keep it at warmer temperatures to increase activity. Ensure adequate steam during baking, which helps the bread spring up in the oven. If density persists, consider extending fermentation time gradually to build better flavor while the dough develops.
Easy Variations to Try
More Sour Flavor: Extend the initial fermentation (Step 2) to 8 hours or even overnight. The longer fermentation produces more lactic acid and deeper, more complex sour flavor.
Sandwich Bread: Reduce water slightly to 1 1/4 cups and skip the scoring step to create a milder-flavored, tighter-crumb loaf better suited for sandwiches rather than artisan presentation.
Whole Wheat Sourdough: Substitute 1 cup all-purpose flour with whole wheat flour for nuttier flavor and added nutrition. Whole wheat absorbs more water, so you may need slightly more liquid.
Herb Sourdough: Add 1 tablespoon dried herbs like rosemary or oregano after the initial fermentation for aromatic variation. Fresh herbs tend to become bitter during long fermentation, so dried herbs work better.
No Dutch Oven Method: If you lack a Dutch oven, the water pan steam method works well. Be consistent about creating steam and bake slightly longer to develop crust.
Small Batch Sourdough: Halve all ingredients and bake in a smaller vessel to make a single large roll or small loaf perfect for smaller households.
Overnight Cold Fermentation: After shaping, refrigerate overnight instead of doing a final room temperature rise. This develops deeper flavor and makes morning baking convenient.
Sourdough Bread Paired with Other Dishes
Sourdough pairs beautifully with almost any meal. Serve warm slices with butter alongside soups like minestrone or French onion soup. Toast and top with avocado, eggs, or cheese for breakfast. Cube and use for croutons or bread salads. The tangy flavor and chewy texture make sourdough substantial enough to be a meal component rather than just accompaniment.
For complete meal planning, explore our collection of traditional recipes. Try our tuna noodle casserole recipe for a complete vintage meal, or consider our dinner rolls recipe for a quicker bread option. Browse our breads and biscuits collection for more baking options to complement your sourdough journey.
Frequently Asked Questions About Sourdough Bread
How to make sourdough bread at home?
Combine active starter with warm water and flour, let ferment 2-4 hours, add salt and remaining flour, knead, do a first rise, shape, do a final rise, then bake with steam at 450°F for 25-30 minutes.
Sourdough bread for beginners?
Start with this basic recipe and don’t rush the process. Use the poke test rather than strict timing. Make multiple batches to develop intuition. Keep notes to track what works in your kitchen.
What is sourdough bread?
Naturally leavened bread made with wild yeast and lactobacillus in a sourdough starter. The long fermentation develops distinctive tangy flavor and chewy texture.
Is sourdough bread healthy?
Yes, the long fermentation breaks down phytic acid, making minerals more absorbable. It produces lactic acid beneficial for digestion and can have a lower glycemic index than regular bread.
How long does sourdough bread last?
Stores 2-3 days at room temperature. Freezes for up to 3 months. Refresh stale bread by sprinkling with water and heating in a 350°F oven.
Why is my sourdough bread dense?
Underproofing, overproofing, sluggish starter, or insufficient steam during baking can produce dense bread. Use the poke test to ensure proper fermentation.
Can I make sourdough without a Dutch oven?
Yes, use a shallow pan of water on the oven bottom rack to create steam. Bake slightly longer to develop crust.
How active should my starter be?
The starter should be bubbly, roughly doubled in size, and smell pleasantly sour when ready to use. Feed until active before baking.
Can I refrigerate the dough?
Yes, cold fermentation develops deeper flavor. Shape, cover, and refrigerate overnight, then bake the next morning.
What flour works best?
All-purpose flour works well for beginners. Bread flour produces chewier texture with higher gluten. Whole wheat flour adds nutrition and nuttiness.
Why This Recipe Endures
Sourdough represents a connection to baking traditions that predate commercial yeast, when every loaf was naturally leavened and every baker developed their own unique culture. The process of maintaining a starter, feeding it regularly, and baking with it creates a relationship with your food that mass production cannot replicate. A sourdough starter can survive for decades, creating an unbroken chain connecting you to ancestors and future generations.
For more classic recipes that celebrate traditional baking and vintage cooking techniques, explore our collection at Nostalgic Eats. Subscribe to our Vintage Life of USA YouTube channel for more recipes and stories about the food that shaped American families and baking traditions.
Conclusion
This homemade sourdough bread recipe delivers authentic artisan bread with distinctive tangy flavor and chewy texture developed through long, slow fermentation. The process requires patience but demands little active work—mostly waiting for natural fermentation to do its magic. Whether you’re beginning your sourdough journey, reviving an old starter, or simply wanting genuinely great bread, this classic recipe produces results worth the time. Ready to start? Feed your starter until active and discover why sourdough has remained beloved for centuries on kitchen tables around the world.