Drop Biscuits Recipe – Quick Easy Homemade Biscuits

Grandma’s Old Fashioned Fluffy Drop Biscuits Recipe No Kneading No Rolling — The Biscuit That Had No Time for Ceremony
She never rolled a drop biscuit in her life. Not once. Not a single pass of the rolling pin, not a single press of a cutter, not a single moment spent shaping something that was going to get eaten in forty-five seconds anyway.
She mixed. She dropped. She baked.
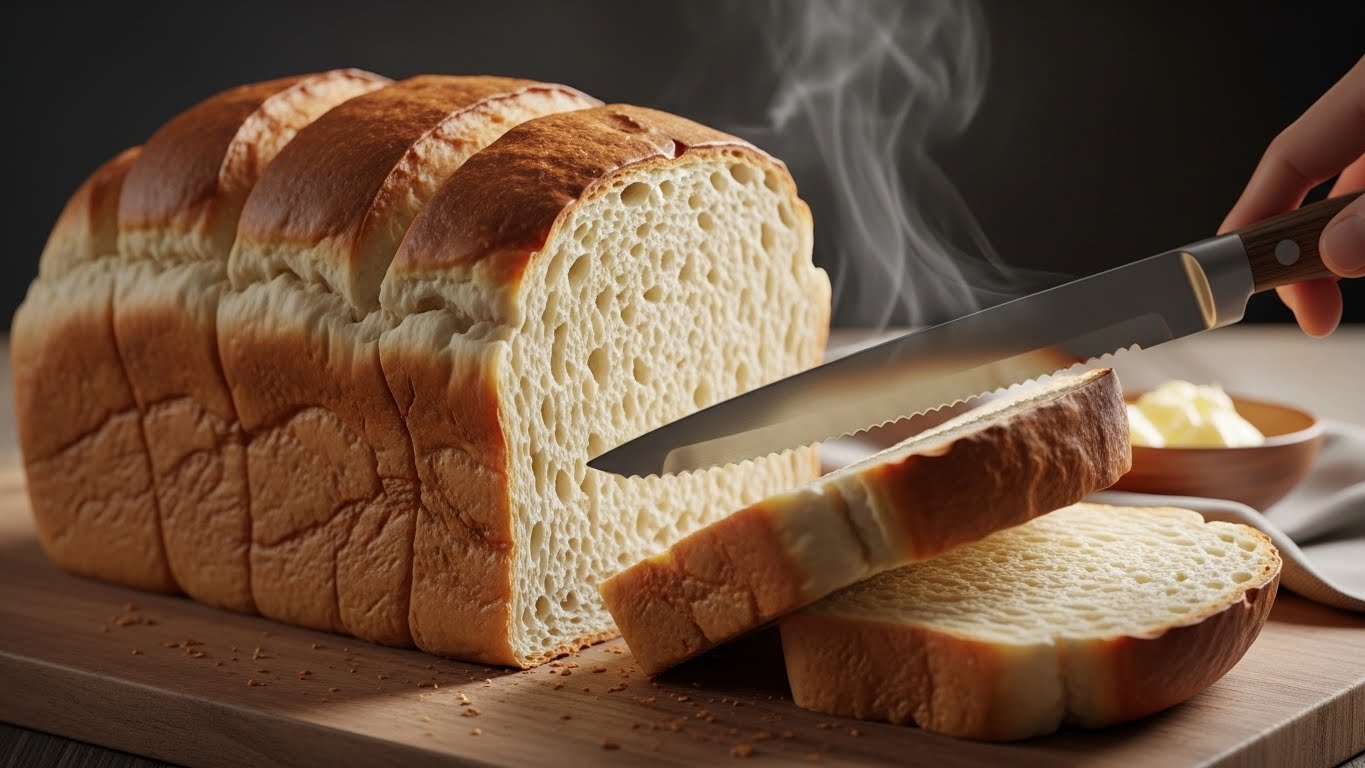
Twenty minutes later, twelve golden, impossibly fluffy biscuits sat on a cloth on the counter, steam rising off their cracked and craggly tops, smelling like warm butter and Sunday morning and the specific kind of contentment that only comes from a kitchen doing exactly what a kitchen is supposed to do.
Grandma’s old fashioned fluffy drop biscuits recipe no kneading no rolling is the biscuit recipe that belongs in every kitchen that has ever looked at rolled biscuits and quietly thought: there has to be a simpler way. There is. She found it decades before the rest of us caught up.
Welcome to Nostalgic Eats, where the best recipes are the ones that respect your time as much as your appetite.
Not Sure What to Cook Today?
Open your fridge, pick a few ingredients… and turn them into a real recipe in seconds.
No guessing. No waste. Just simple, nostalgic meals.The Day She Threw Away the Rolling Pin — And Never Missed It
It happened during a winter in the early 1960s, according to the story she told when anyone bothered to ask why she made her biscuits this way.
She had been rolling biscuit dough on a cold morning — flour on the counter, rolling pin in hand, cutter at the ready — when her youngest came in from outside with a cut knee and a full pair of lungs. She put down the rolling pin, handled the emergency, came back to find the dough had been sitting too long, the butter had softened, and the whole thing was starting to look less like biscuit dough and more like a sad, overworked mistake.
She looked at it for a moment. Then she added a splash more milk until it was loose enough to drop by the spoonful, put it in the oven, and got on with the morning.
The biscuits that came out were the fluffiest she’d ever made.
The rolling pin went into the back of the drawer. It stayed there.
King Arthur Baking explains the science she accidentally discovered that morning: overworking biscuit dough develops gluten strands that make the finished biscuit tough and dense. The less you handle the dough, the less gluten develops, and the more tender the biscuit becomes. By dropping the dough directly from a spoon — never touching it again after it mixed — she was producing the least-worked, most-tender biscuit possible. Every time.
💡 Her Rule: “Mix until it just comes together and then stop. The bowl is not a battle you need to win.” She was talking about the dough. She was, as usual, also talking about something larger.
Not Sure What to Cook Today?
Open your fridge, pick a few ingredients… and turn them into a real recipe in seconds.
No guessing. No waste. Just simple, nostalgic meals.Drop Biscuits: Quick Reference
Ingredients You’ll Need
Main Ingredients:
- 2 cups all-purpose flour
- 1 tablespoon baking powder
- 1/2 teaspoon salt
- 1/4 cup shortening or cold butter
- 1 cup milk
Optional Additions:
- 1/2 cup shredded cheddar cheese
- 1/4 teaspoon garlic powder
- 1 tablespoon fresh chives, chopped
- 1/4 teaspoon cayenne pepper
- 1 tablespoon honey
Understanding Drop Biscuits: Why They’re Special
Drop biscuits emerged as a practical solution to a genuine problem in busy American kitchens. Traditional biscuits require rolling dough to a specific thickness, cutting individual shapes with a cutter or knife, and careful handling to ensure they rise properly. This takes time, skill, and cleanup. For home cooks managing multiple tasks during meal preparation, traditional biscuits sometimes seemed like too much effort for what should be a simple side.
Drop biscuits solved this dilemma by using a slightly wetter dough that cannot be rolled or shaped but instead drops from a spoon in rustic mounds. The technique eliminates rolling pins, biscuit cutters, and the precision required for traditional methods. Yet the results are remarkably good—fluffy, tender biscuits with slightly rougher exteriors that develop beautiful golden color and crispy edges during baking.
The beauty of drop biscuits lies in their reliability and speed. Because there’s no overworking of dough, no careful handling, and no shaping technique to master, beginners produce excellent results on their first attempt. Experienced bakers appreciate them for the time saved without sacrificing quality. This makes drop biscuits genuinely democratic—accessible to anyone regardless of baking skill level.
What Makes These Drop Biscuits Special
The dough for drop biscuits is intentionally slightly wetter than traditional biscuit dough, giving it a scoopable consistency rather than a rollable one. This wetness might seem like a problem, but it actually creates biscuits with exceptional tenderness. The extra moisture hydrates the flour fully, creating a crumb that’s light and fluffy rather than dense.
The baking powder provides all the leavening, creating lift through chemical reaction rather than the steam and lamination created by traditional biscuit-making techniques. This makes the chemistry simpler and the results more predictable. Combined with the high oven temperature, the baking powder creates rapid rise that produces fluffy interiors while the outside develops color and slight crispness.
The technique of dropping dough directly onto the baking sheet means each biscuit is exposed to direct heat on the bottom, creating nicely browned bases. The sides touching each other create softer, tender sides where biscuits touch, while the tops and outer edges develop light golden color. The result is a biscuit with varied textures and appealing rustic appearance.
Not Sure What to Cook Today?
Open your fridge, pick a few ingredients… and turn them into a real recipe in seconds.
No guessing. No waste. Just simple, nostalgic meals.How to Make Drop Biscuits
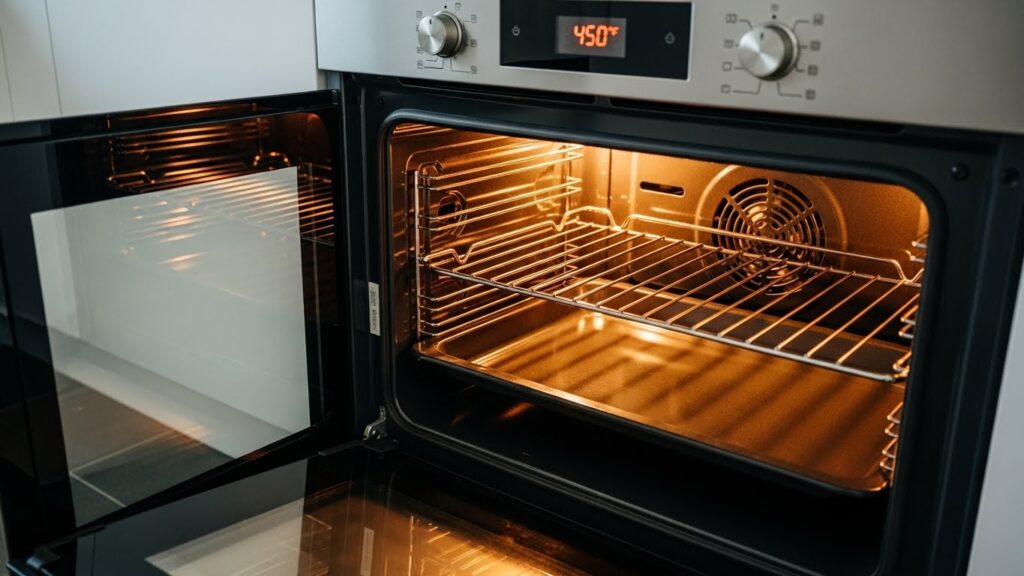
Step 1: Preheat the Oven
Preheat your oven to 450°F. This high temperature is essential for proper rise and color development. The intense heat causes the baking powder to activate quickly, creating lift before the dough sets. Make sure your oven has fully preheated before proceeding—cold ovens won’t produce the same results.
Step 2: Combine Dry Ingredients
In a mixing bowl, combine 2 cups all-purpose flour, 1 tablespoon baking powder, and 1/2 teaspoon salt. Whisk these together thoroughly, breaking up any lumps in the baking powder and distributing it evenly throughout the flour. This whisking ensures the leavening is distributed uniformly, which creates even rising throughout the biscuits. Uneven distribution of baking powder results in some biscuits rising more than others.

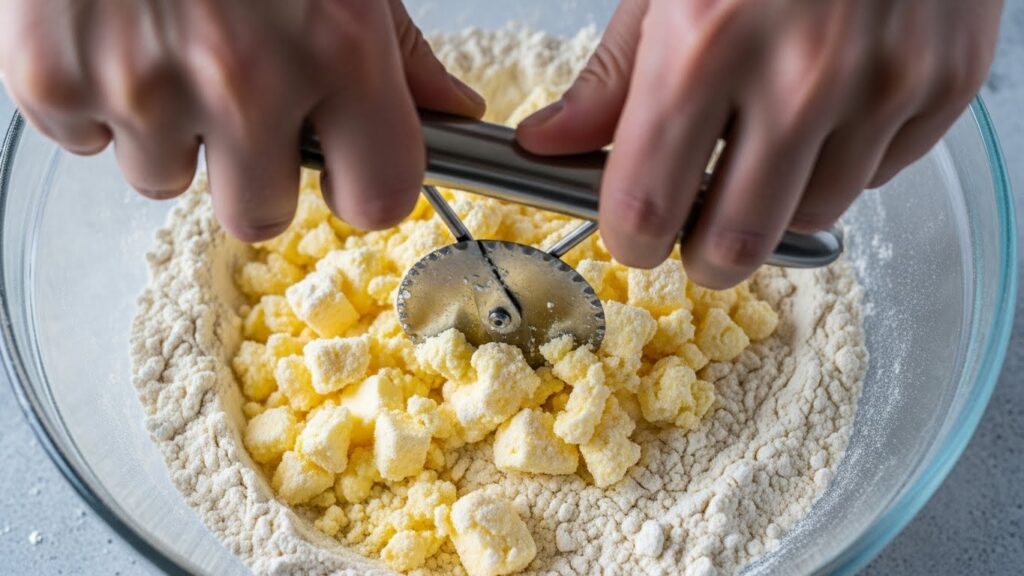
Step 3: Cut in the Fat
Add 1/4 cup cold shortening or cold butter cut into small cubes to the dry ingredients. Using a pastry cutter, two knives, or your fingertips, work the fat into the flour until the mixture resembles coarse crumbs. The cold fat is essential—it remains separate from the flour during mixing, creating pockets that trap steam during baking, which produces the fluffy texture. If the fat becomes too warm and mixes thoroughly into the flour, you’ll get dense biscuits rather than fluffy ones.
Work quickly and don’t overwork this step. The butter or shortening should remain visible as small pieces within the flour. If your kitchen is very warm, you can chill the bowl for a few minutes before this step to keep everything cold.
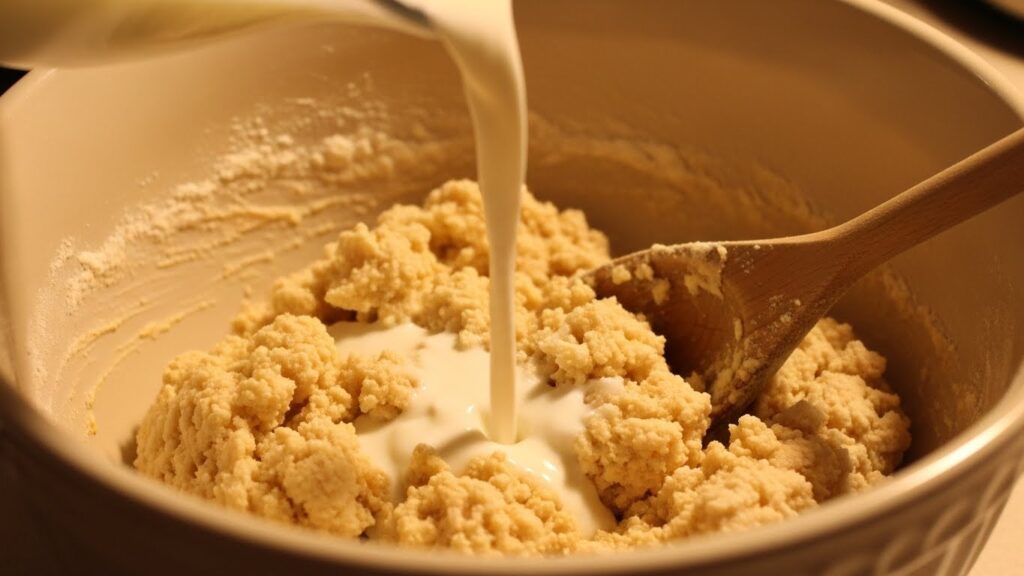
Step 4: Add Milk
Pour 1 cup milk into the flour mixture all at once. This might seem like a lot, but it creates the wetter dough necessary for drop biscuits. Using a sturdy spoon or wooden spoon, stir just until the ingredients are moistened and come together into a shaggy, slightly wet dough. This should take only about 10-15 seconds of stirring. Do not overmix—the more you stir, the tougher the biscuits become as the flour develops gluten.
The dough should look somewhat ragged and rough. If you see streaks of dry flour, stir a few more times until they’re gone. But stop as soon as everything is moistened. Lumpy, rough dough actually produces better biscuits than smooth, well-developed dough.
Step 5: Drop onto Baking Sheet
Using a spoon or small ice cream scoop, drop spoonfuls of dough onto an ungreased baking sheet, spacing them about 1 inch apart. The biscuits will expand slightly as they bake, so don’t crowd them together or they’ll merge into one sheet. If you have limited baking sheet space, you can place them closer together and they’ll create soft sides where they touch, which many people prefer.
The irregular, rustic shape of dropped dough is part of the charm of these biscuits. Don’t try to smooth them or make them uniform—the rougher appearance actually looks more authentic and homemade.

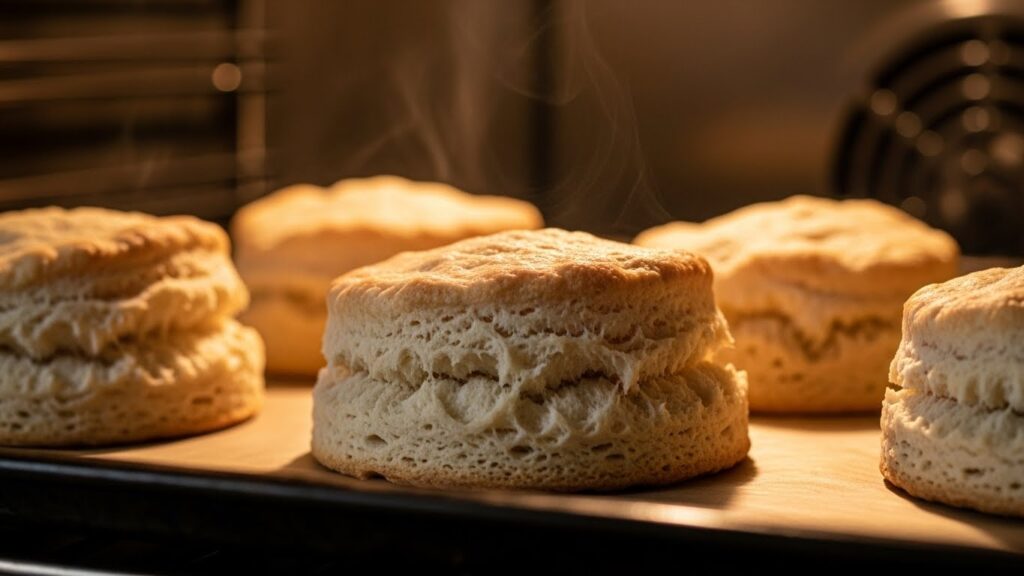
Step 6: Bake Until Golden
Place the baking sheet in the preheated 450°F oven and bake for 10 to 12 minutes until the biscuits are light golden brown on top and the bottoms are golden brown. The exact time depends on your oven and how many biscuits you’re baking. Start checking at the 10-minute mark by looking at the color and tapping a biscuit—it should feel firm to the touch.
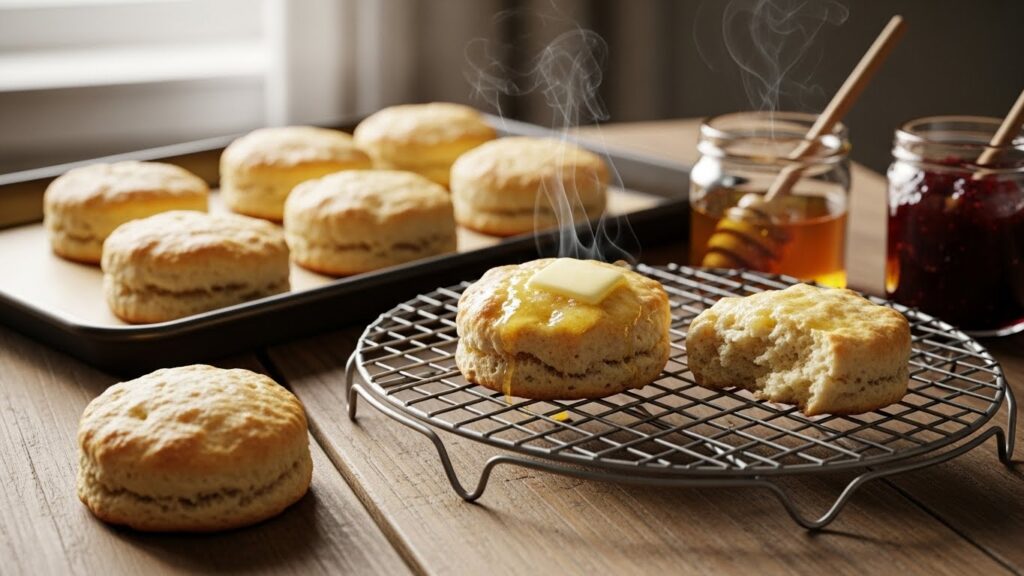
Step 7: Cool Slightly and Serve
Remove from the oven and transfer to a wire cooling rack if you prefer, though these are best eaten warm directly from the baking sheet. They cool quickly since they’re small. Serve hot with butter, honey, gravy, or jam. The warmth allows butter to melt into them, creating irresistible richness.
Why Drop Biscuits Are Not the Lazy Version — They Are the Correct Version
Here is the thing that biscuit purists will not admit out loud: the rolling and cutting process, which feels so professional and precise, is actually working against you.
Every roll of the pin presses the cold butter flakes you worked so hard to create into each other, merging them, destroying the pockets that would have become steam during baking, eliminating the layers that would have produced lift. Every press of the cutter compresses the edges, sealing them so they can’t fully rise. The beautiful, uniform rounds come out less tall, less fluffy, and less tender than the shaggy, honest drops that never got touched at all.
Serious Eats put this directly: drop biscuits, when made correctly, are not a compromise. They are a superior product. The irregular surface creates more total crust area, which means more crunch. The untouched interior creates more open crumb structure, which means more tenderness. The quick mix means less gluten development, which means a more delicate bite.
The craggy top — the one that looks rustic and imperfect and nothing like a magazine photo — is the best part of the biscuit. It is where the butter crisps, where the edges go gold, where the crunch lives.
Grandma’s biscuits always looked like they were made quickly, because they were. They always tasted like they took all day, because somehow they did.
💡 The Cold Butter Principle: The single most important variable in drop biscuits is butter temperature. The butter must be very cold — frozen and grated is even better. Sally’s Baking Addiction explains why: cold butter creates steam pockets during baking as it melts rapidly in the hot oven. Those steam pockets are what makes a biscuit rise and separate into layers. Warm butter melts into the flour before baking even begins, and the pockets collapse before they can form. Cold butter. Always cold butter.
The Problems and the Plain-Spoken Fixes
Biscuits are flat and dense: Baking powder was old, butter was too warm, or the dough was overmixed. Fresh baking powder, cold butter, 15 strokes maximum. That’s the entire fix.
Biscuits are dry and crumbly: Too much flour or too little milk. Measure flour by spooning it into the cup and leveling — not scooping directly from the bag, which packs flour and adds up to 20% extra. AllRecipes confirms that the scoop-and-level mistake is the leading cause of dry baked goods across all categories.
Bottoms burned, tops pale: Oven too hot, rack too low, or dark baking pan absorbed too much heat. Move the rack to the center of the oven and use a light-colored baking sheet, or reduce temperature to 425°F and add 2 to 3 minutes.
Biscuits spread flat instead of rising: Dough was too wet, butter was melted, or oven wasn’t hot enough. Add flour one tablespoon at a time if dough is visibly running. Always preheat fully to 450°F before baking.
No visible layers or lift: Butter pieces were worked too small. Stop cutting in the butter while you can still see pieces. Visible = lift.
Not Sure What to Cook Today?
Open your fridge, pick a few ingredients… and turn them into a real recipe in seconds.
No guessing. No waste. Just simple, nostalgic meals.How to Keep Them — Though They Rarely Survive the Morning
- Same day: Best in the first hour. Nothing improves on a biscuit eaten within 45 minutes of leaving the oven.
- Room temperature: Wrapped in a cloth or stored in an airtight container, they stay soft for up to 2 days. Refresh in a 350°F oven for 5 minutes.
- Freezer: Baked and fully cooled biscuits freeze beautifully for up to 3 months, wrapped individually in plastic. Reheat from frozen at 350°F for 12 to 15 minutes. According to USDA food safety guidelines, properly wrapped quick breads maintain full quality in the freezer for up to 3 months.
- Make-ahead dough: Drop biscuit dough can be scooped onto a parchment-lined sheet, frozen solid, then transferred to a freezer bag. Bake from frozen at 450°F for 15 to 17 minutes — fresh biscuits from the freezer with zero morning effort.
Everything Else on the Table That These Biscuits Belong Next To
Drop biscuits were never meant to be eaten alone. They were the bread that appeared next to Sunday dinner, the thing that sopped up gravy, the vessel for jam at breakfast and butter at supper. Here is the rest of the table they came from:
- 🍗 Grandma’s Easy Crispy Fried Chicken Without Buttermilk — the Sunday dinner these biscuits were always waiting for
- 🍖 Meatloaf with Brown Sugar Glaze — the weeknight main that has been asking for a biscuit on the side since forever
- 🥔 Cheesy Potato Casserole Recipe — the side that turns any drop biscuit meal into a proper Sunday situation
- 🥩 BBQ Meatballs Slow Cooker Potluck Recipe — serve the meatballs, bring the biscuits, come home with an empty pan
- 🌽 Cornbread and Buttermilk Sandwich — for the days when biscuits and cornbread need to coexist peacefully at the same table
And if today’s pantry is full but the recipe ideas have run dry, try our completely Free Recipe Maker from Ingredients — type in what you have and get back real, tested old-fashioned recipes from our full collection. Free. No sign-up. No ads. Just cooking.
The Twelve Biscuits She Made Without Thinking About It
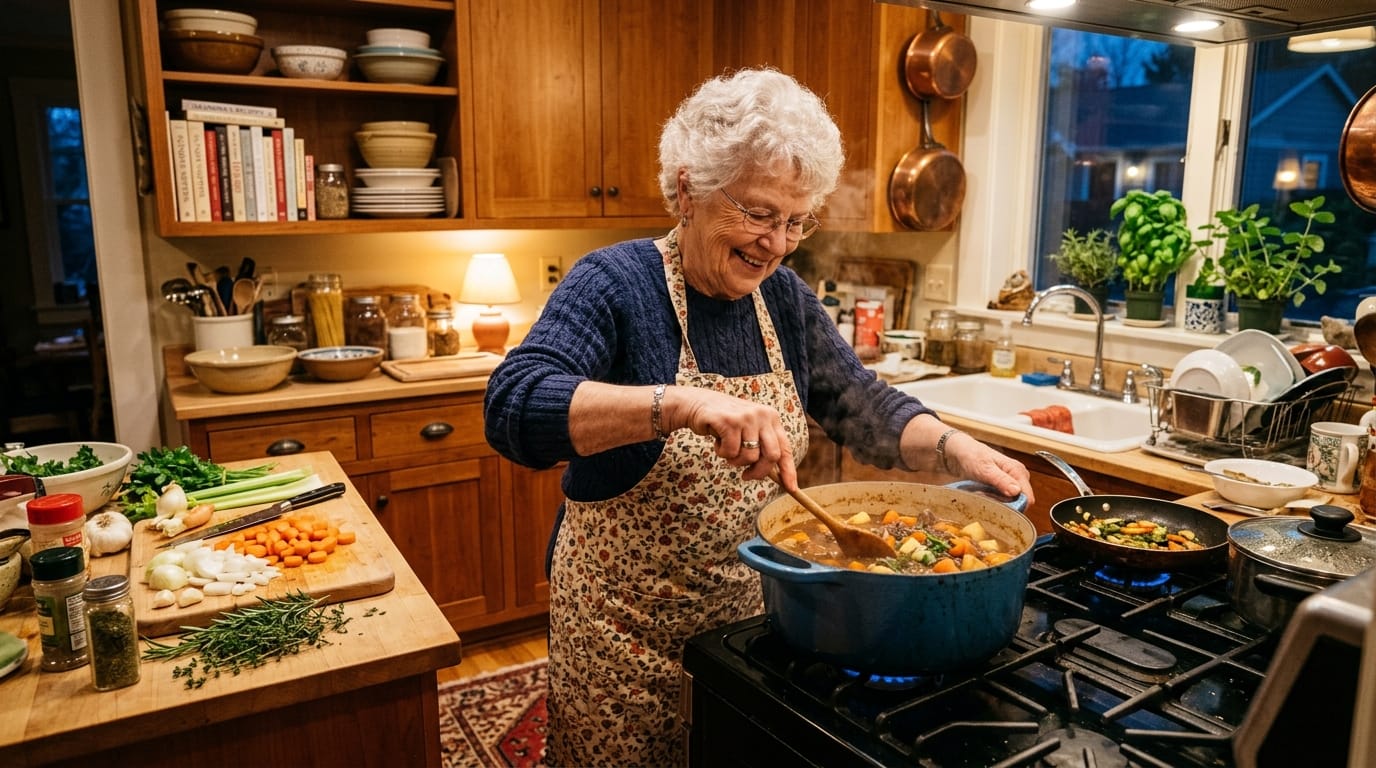
Later in her life, when her hands had slowed and her kitchen had gotten quieter, grandma still made drop biscuits at least twice a week. Not for company. Not for occasion. Just because she wanted them.
She’d mix the dough in one bowl, drop it in twelve roughly equal mounds, slide the pan into the oven, and be back in her chair with her coffee by the time they finished baking. The whole operation, start to finish, never took more than twenty-five minutes.
When they came out, she’d brush them with butter — always butter, always immediately — and set them on the cloth on the counter and call whoever was in the house.
She never called twice.
That is Grandma’s old fashioned fluffy drop biscuits recipe no kneading no rolling in its truest form: not a recipe that demands attention or technique or specialized equipment. A recipe that asks only for cold butter, a light hand, and the good sense to stop mixing before you’ve gone too far.
Mix it. Drop it. Bake it.
Brush it with butter and eat it while it’s warm.
She’d say that’s all there is to it — and she’d be completely right.
Published on NostalgicEats.com | Classic American Comfort Recipes Explore more at: nostalgiceats.com
Not Sure What to Cook Today?
Open your fridge, pick a few ingredients… and turn them into a real recipe in seconds.
No guessing. No waste. Just simple, nostalgic meals.