Homemade Penny Candy Jar Mix: Fill Your Own Old-Fashioned 2-Gallon Glass Jar

Homemade Penny Candy Jar Mix: Fill Your Own Old-Fashioned 2-Gallon Glass Jar
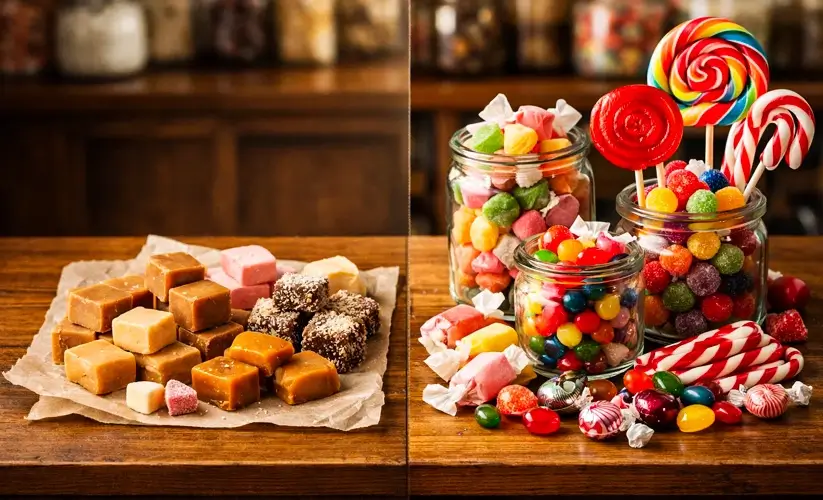
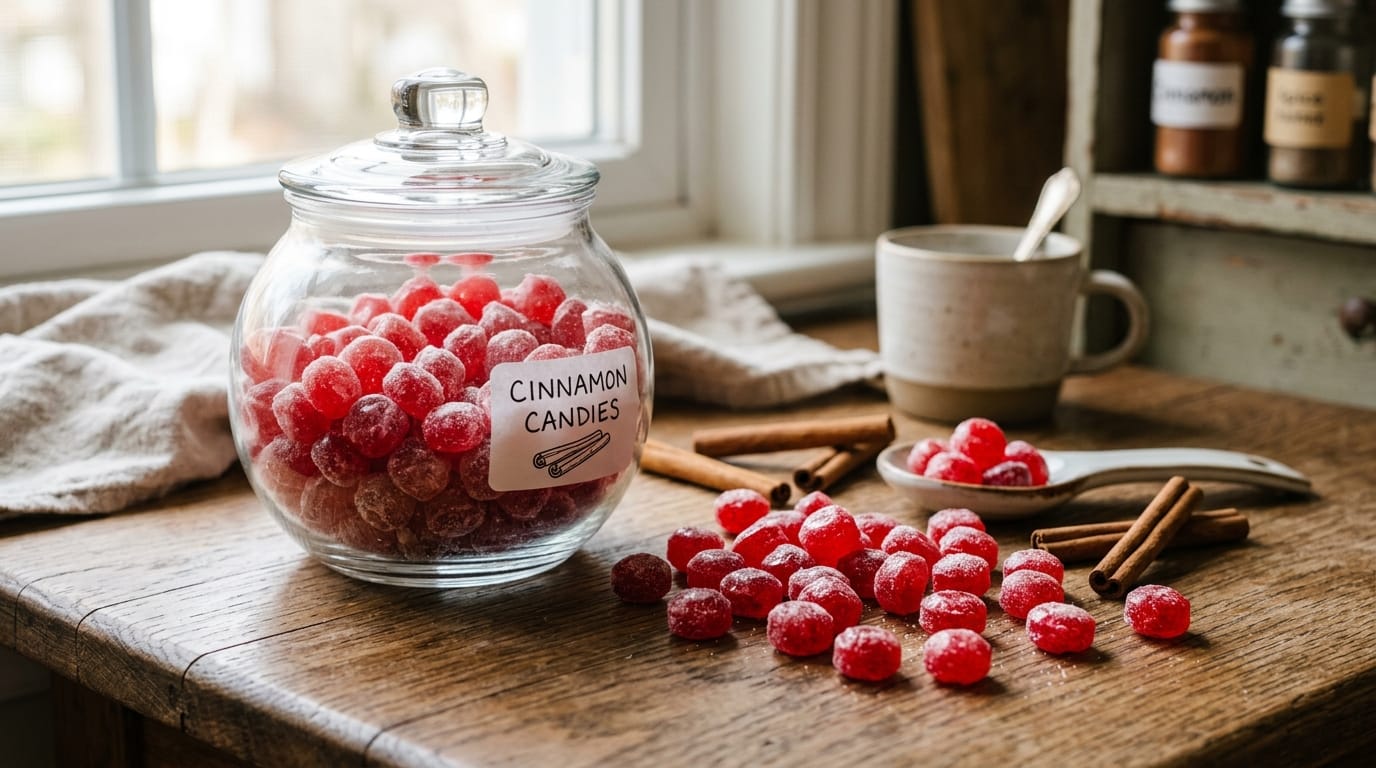
PPenny candy jars represent an iconic symbol of American childhood nostalgia, evoking memories of corner store visits and the joy of selecting from a 2-gallon penny candy jar filled with colorful treats. Creating homemade penny candy jar mix allows you to fill your own 2-gallon penny candy jar with vintage penny bags and authentic penny candy combinations that capture the golden era. Unlike modern mass-produced penny bags, homemade penny candy jar mixes let you control flavors, varieties, and quality while honoring the traditions of vintage penny candy jars that defined childhood experiences.
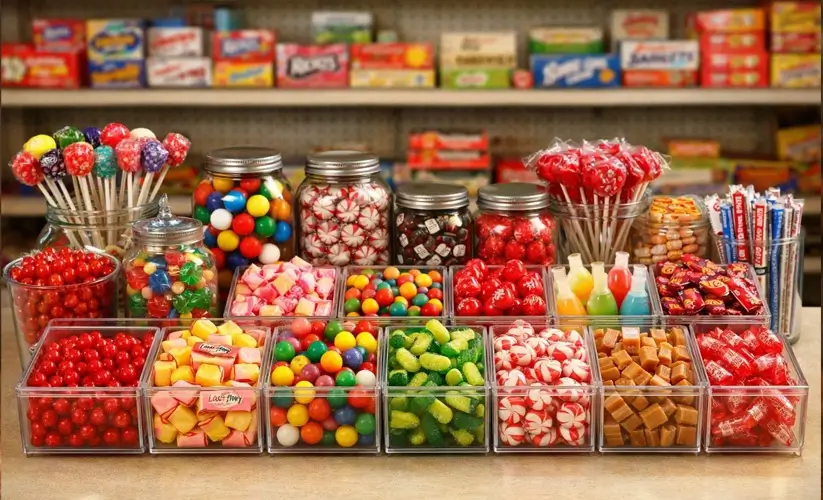
The 2-gallon penny candy jar holds approximately 200-240 pieces of penny candy and multiple penny bags, providing an authentic display that captures the essence of vintage penny bags as they appeared in nostalgic corner stores. This comprehensive guide teaches you how to create authentic homemade penny candy jar mix for your 2-gallon penny candy jar, combining multiple penny bags recipes and traditional candy-making techniques. Whether you’re filling penny candy jars for personal enjoyment, special events, or creating nostalgic penny bags as gifts, this recipe captures the authentic experience of vintage penny candy jars from the golden era.
Preparation & Cooking Information
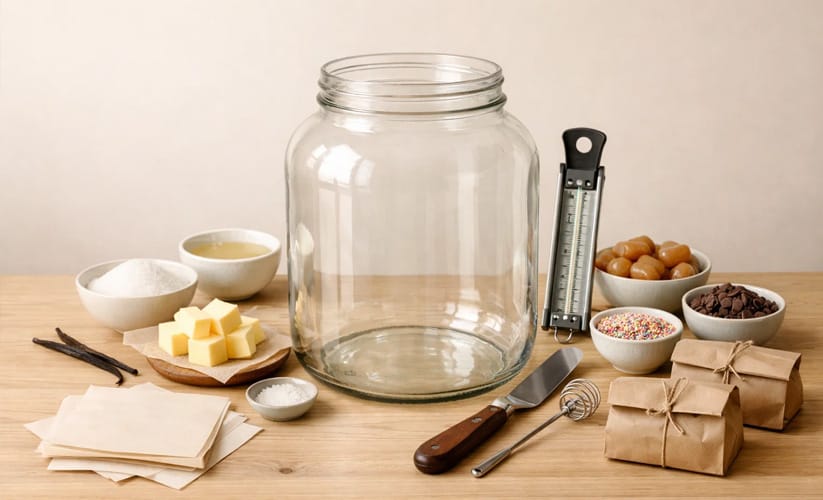
Ingredients for Homemade Penny Candy Jar Mix
Base Ingredients (multiply by 4 for complete 2-gallon penny candy jar):
- 2 cups granulated sugar (800g total)
- 3/4 cup light corn syrup (510g total)
- 3/4 cup water (360ml total)
- 1/4 teaspoon cream of tartar (per batch)
- 1/4 cup unsalted butter (114g total)
- 1/4 teaspoon vanilla extract (per batch)
Flavoring Oils for Penny Bags Varieties:
- 1/2 teaspoon cherry flavoring oil
- 1/2 teaspoon lemon flavoring oil
- 1/2 teaspoon grape flavoring oil
- 1/2 teaspoon orange flavoring oil
Food Coloring for Penny Bags:
- 4-6 drops red food coloring (cherry batch)
- 4-6 drops yellow food coloring (lemon batch)
- 4-6 drops green food coloring (grape batch)
- 4-6 drops orange food coloring (orange batch)
Other Ingredients:
- 1/2 teaspoon salt (per batch)
- Powdered sugar for dusting penny bags
- Parchment paper
- Small paper bags or cellophane for penny bags packaging
Complete 7-Step Recipe Instructions
Step 1: Prepare Your 2-Gallon Penny Candy Jar Prepare your 2-gallon penny candy jar by cleaning thoroughly and ensuring it’s completely dry. Have parchment paper ready, gather small paper bags or cellophane for penny bags, and ensure powdered sugar is available for dusting. Set out your candy thermometer and multiple saucepans for creating different penny bags flavors. This preparation ensures successful penny candy jar assembly and authentic vintage penny bags presentation. A clean, organized workspace makes the multi-batch process smooth and efficient.
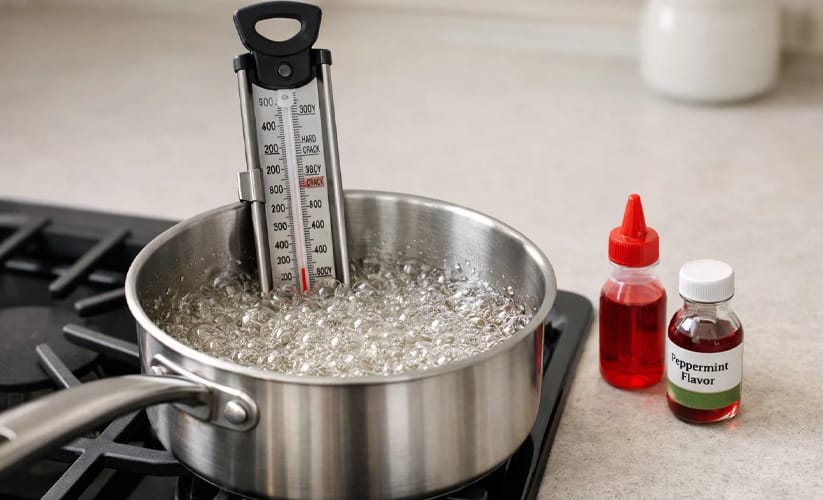
Step 2: Create First Batch – Cherry Penny Bags In first medium saucepan, combine 2 cups sugar, 3/4 cup corn syrup, 3/4 cup water, and 1/4 teaspoon cream of tartar. Stir over medium heat until sugar dissolves, about 3-4 minutes. Insert thermometer and stop stirring. Increase heat to medium-high and cook undisturbed to 300-310°F (approximately 10-15 minutes). Remove from heat, add 1/4 cup butter, 1/4 teaspoon vanilla, 1/8 teaspoon cherry flavoring oil, red food coloring drops, and 1/4 teaspoon salt. Stir gently 30 seconds.
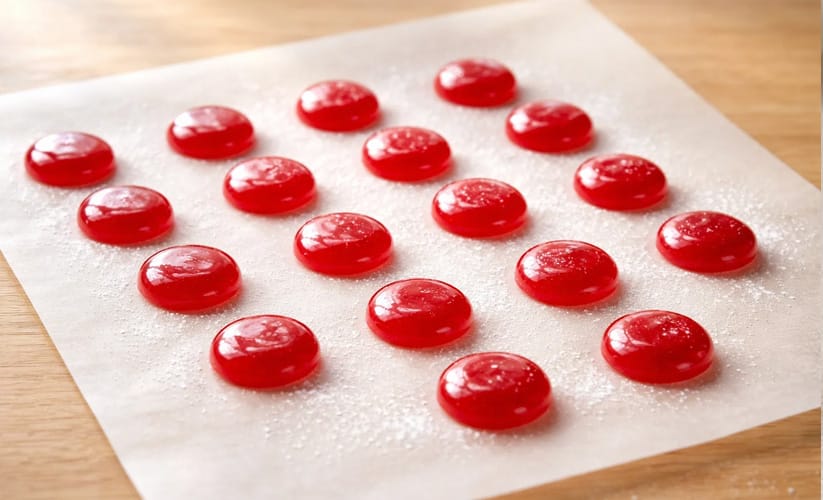
Step 3: Shape and Cool First Batch Drop small spoonfuls of cherry mixture onto parchment paper, creating 50-60 pieces for your penny candy jar. Work quickly while pourable. Cool 30-45 minutes until hardened. Dust with powdered sugar for authentic penny bags appearance. This creates your first variety of penny candy for the 2-gallon penny candy jar. Repeat entire process for lemon, grape, and orange batches using same method with different flavorings and colors.
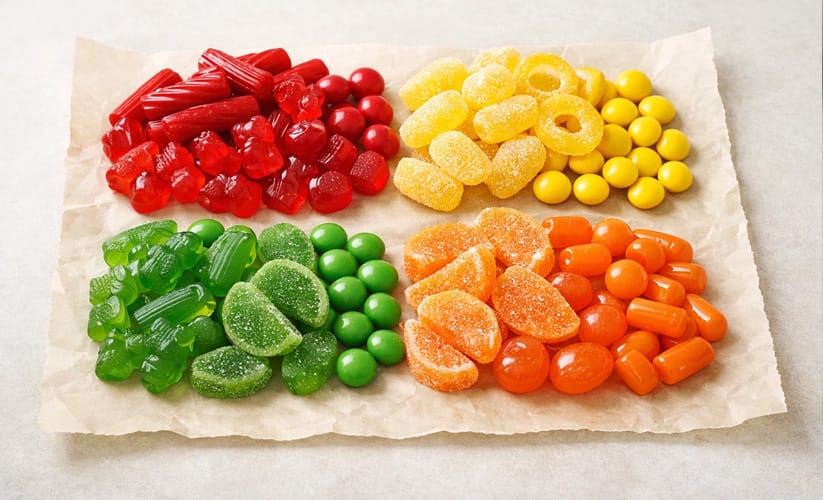
Step 4: Create Remaining Penny Bags Batches Repeat Steps 2-3 three more times, creating lemon (yellow), grape (green), and orange (orange) batches of penny candy. Each batch uses identical base amounts with different flavoring oils and food colorings. This multi-batch approach creates the diverse penny bags assortment that fills your 2-gallon penny candy jar authentically. Allow each batch to cool completely before beginning next batch. For a single-batch starter recipe, also check out our homemade 1950s penny candy recipe.
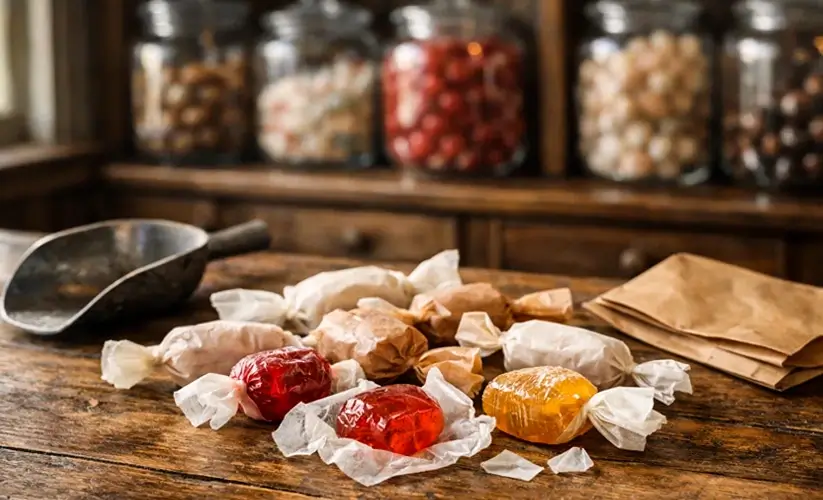
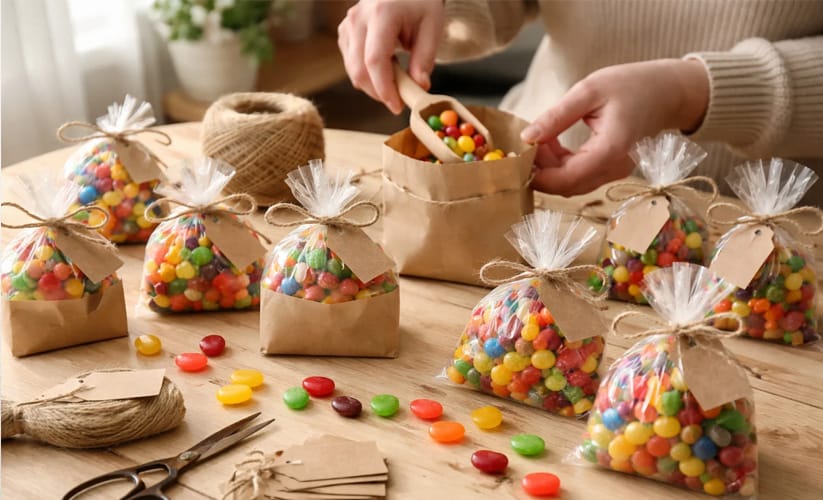
Step 5: Prepare Small Penny Bags for Penny Candy Jar Prepare penny bags by filling small paper bags or cellophane packets with mixed varieties of cooled penny candy. Create 40-50 penny bags total, combining different flavors and colors in each penny bag for authentic vintage penny candy jar appearance. This mimics how traditional penny bags were assembled during the golden era, offering variety and visual appeal.
Step 6: Assemble Your 2-Gallon Penny Candy Jar Begin assembling your 2-gallon penny candy jar by layering penny bags and loose penny candy pieces. Start with loose pieces at the bottom, then alternate penny bags with loose candy pieces as you fill the jar. Create visually appealing layers showing off different penny bags colors for your penny candy jars display. Fill until 2-gallon penny candy jar is completely full, with penny bags visible through the glass.
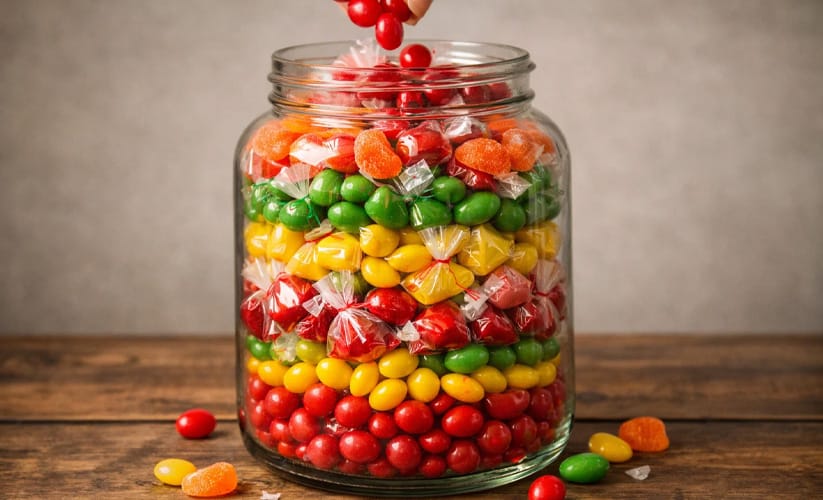
Step 7: Seal and Display Your Penny Candy Jar Seal your 2-gallon penny candy jar with a glass lid. Create a label reading “Homemade Penny Bags” and display proudly on a shelf or table. Your vintage penny candy jars filled with authentic penny bags represent the golden era of penny candy. Share with family and friends, allowing each person to select penny bags or individual pieces, enjoying each nostalgic treat.nostalgic treat.
Pro Tips for Perfect Penny Candy Jar Mix
Temperature Control is Critical: Use a reliable candy thermometer for each batch. Hard-crack stage (300-310°F) creates perfect penny bags texture for your penny candy jars. Consistent temperature ensures uniform penny bags quality.
Batch Organization: Work systematically through all four batches. Create production line approach—prepare, cook, cool, dust, and package each penny bags batch before starting next. This ensures efficiency and organization.
Color Coordination: Match food coloring to flavoring oils for authentic penny bags appearance. Cherry = red, lemon = yellow, grape = purple/green, orange = orange. This visual variety fills your 2-gallon penny candy jar beautifully.
Powdered Sugar Finish: Dust all cooled penny candy with powdered sugar immediately after cooling. This creates authentic vintage penny bags appearance, essential for nostalgic penny candy jars presentation.
Mix Penny Bags Strategically: Combine different flavors within penny bags to create surprising variety. One cherry with lemon, another with grape and orange. This strategic mixing makes selecting penny bags fun.
Fill to Capacity: Fill your 2-gallon penny candy jar completely for impressive display. Use both penny bags and loose pieces strategically to maximize visual appeal and authentic penny candy jars appearance.
Proper Storage: Keep 2-gallon penny candy jar sealed in cool, dry location away from humidity. Sealed penny candy jars preserve penny bags freshness for 3-4 weeks.
Nutritional Information Per Piece of Penny Candy
- Calories: 70 calories per piece
- Total Fat: 0.5g
- Carbohydrates: 17g
- Sugars: 16g
- Protein: 0g
- Sodium: 12mg
- Fiber: 0g
Penny bags are pure sugar treats, best enjoyed occasionally as nostalgic indulgence. The small portion sizes naturally encourage moderation while capturing the authentic penny candy jars experience of selecting individual penny bags.
Frequently Asked Questions About Penny Candy Jar Mix
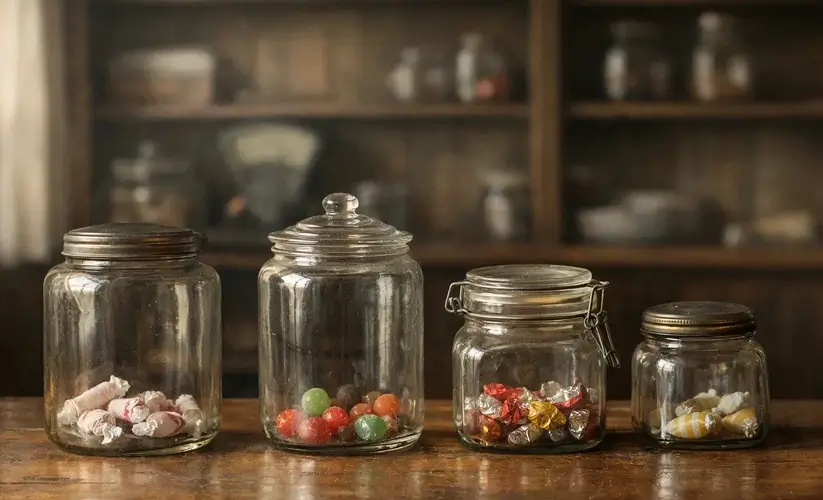
Q1: What size penny candy jars work best for homemade penny bags? ? A 2-gallon penny candy jar is ideal for homemade penny bags and penny candy jar mixes. This size holds approximately 200-240 pieces of penny candy and multiple penny bags. The 2-gallon penny candy jar provides authentic vintage appearance while remaining manageable for home candy-making and display. Learn more about the history of penny candy jars and how they became iconic
Q2: How many penny bags fit in a 2-gallon penny candy jar? Approximately 40-50 penny bags fit in a 2-gallon penny candy jar, depending on penny bag size and packing method. Combine penny bags with loose pieces of penny candy for optimal 2-gallon penny candy jar appearance. This mixture creates authentic vintage penny candy jars presentation that captures the golden era.
Q3: What materials should I use for penny bags packaging? Small paper bags or cellophane packets work well for authentic penny bags. Paper bags offer vintage appearance for penny candy jars, while cellophane provides visibility of penny candy contents. Both materials suit homemade penny bags and penny candy jar displays perfectly, honoring traditional penny bags presentation.
Q4: How long does homemade penny candy jar mix stay fresh? Homemade penny candy in a sealed 2-gallon penny candy jar stays fresh for 3-4 weeks at room temperature. Penny bags remain fresh slightly less time (2-3 weeks) if stored separately. Keep penny candy jars away from humidity for optimal penny bags preservation and texture maintenance.
Q5: Can I customize flavors for my 2-gallon penny candy jar? Absolutely! Create custom penny bags by choosing your favorite flavors. Popular options include cherry, lemon, lime, orange, grape, strawberry, and watermelon. Your homemade penny candy jar can feature penny bags with personalized flavor combinations that reflect your preferences and vintage penny candy traditions. For even more inspiration, explore our old-fashioned penny candy complete guide
Conclusion
Creating homemade penny candy jar mix for your 2-gallon penny candy jar offers far more than just filling a container—it provides a complete nostalgic experience that honors American candy-making heritage and childhood traditions. Your homemade penny bags represent authentic connections to the golden era when penny candy jars defined simple pleasures and affordable indulgence for children everywhere. Unlike commercial penny bags, your handcrafted penny candy jar mix allows complete control over flavors, colors, and varieties, creating a truly personalized vintage penny candy jars display.
The process of making multiple batches of penny bags, carefully assembling them in your 2-gallon penny candy jar, and presenting your creation captures the essence of what made penny candy jars so beloved. Whether you’re filling penny candy jars for personal enjoyment, sharing penny bags with family and friends, or creating nostalgic gifts that celebrate vintage traditions, this homemade penny candy jar mix delivers authentic satisfaction. For a visual look at how these jars appeared in real vintage stores, check out this vintage candy history playlist on YouTube. Master this recipe, experiment with custom penny bags flavors, and create your own 2-gallon penny candy jar that celebrates the timeless appeal of penny candy culture. Your finished penny candy jars represent more than candy—they represent cherished memories, affordable childhood pleasures, and the enduring magic of penny bags that defined American childhood for generations. Discover more nostalgic candy recipes and history at NostalgicEats.com.