Divinity Candy: Classic Southern Recipe & Secrets to Perfection
Divinity Candy: Classic Southern Recipe & Secrets to Perfection
There is a candy so beloved in the American South that when people taste it for the first time, the most common response is simply: “That is divine.” Which is, of course, exactly how it got its name. Divinity candy is not a marketing term or a poetic exaggeration — it is the honest reaction of generations of Americans to a confection so light, so cloud-like, so genuinely extraordinary in its melt-in-your-mouth sweetness that no other word seemed adequate.
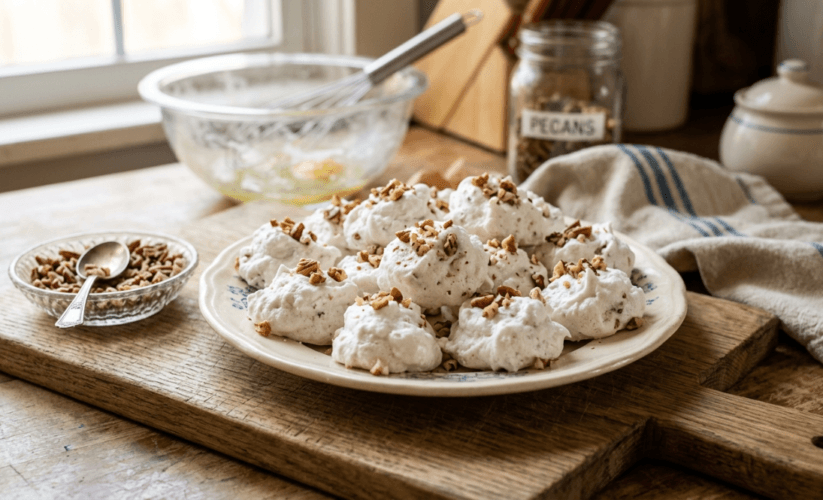
Divinity candy occupies a unique place in American candy-making history. It is neither fudge nor nougat nor marshmallow, though it borrows qualities from all three. It is something entirely its own — an airy, pillowy white confection made from boiled sugar syrup whipped into stiff egg whites, finished with vanilla and studded with toasted pecans, scooped into perfect mounds, and set out on wax paper to cool and firm into the most elegant simple candy an American home kitchen has ever produced.
This guide gives you everything you need: the complete history of divinity candy, a fully tested recipe with step-by-step instructions, expert tips for navigating every tricky moment in the process, five classic variations, and honest advice on packaging and gifting it the old-fashioned way.
Not Sure What to Cook Today?
Open your fridge, pick a few ingredients… and turn them into a real recipe in seconds.
No guessing. No waste. Just simple, nostalgic meals.The History and Southern Roots of Divinity Candy
Divinity candy emerged in American home kitchens in the early twentieth century, appearing in regional cookbooks and handwritten recipe collections throughout the South and Midwest from approximately the 1900s onward. Its origins are closely tied to the broader tradition of sugar-syrup confections that American home cooks mastered during the nineteenth century — a tradition built on the basic understanding that boiled sugar, taken to different temperatures, produces radically different textures.
The candy became particularly beloved in the American South, where it became a fixture of Christmas candy trays alongside peanut brittle, pralines, and fudge. Southern grandmothers made divinity candy every December without exception — it was one of those recipes so embedded in the family calendar that not making it would have felt like leaving Christmas itself unfinished. Church recipe collections, community cookbooks, and church potluck dessert spreads across the South featured divinity candy recipe entries going back decades.
The name itself tells the story best. According to candy historians and food writers, the most widely accepted origin of the name is simply the reaction it produced — someone tasted it and said it was divine, and the word stuck. A confection this light and sweet required no more complicated explanation than that.
Divinity candy was also a product of its time and resources. It required no butter, no cream, no milk — just sugar, corn syrup, water, and egg whites. In an era when dairy could be scarce or expensive, divinity candy was a genuinely luxurious confection that home cooks could produce from pantry basics. This same spirit of making something extraordinary from humble ingredients defines the entire tradition of American Southern cooking preserved across the Nostalgic Eats recipe collection — and divinity candy is one of its most perfect expressions.
What Makes Divinity Candy Unique — The Science Behind the Magic
Understanding what divinity candy is at a technical level is what separates cooks who make it successfully every time from those who struggle to get it right. Divinity candy is a meringue-based confection. The structure that gives it that signature cloud-like, pillowy texture is created by the interaction between two things: a hot sugar syrup cooked to a precise temperature and egg whites beaten to stiff peaks.
When the hot syrup — which has been cooked to the hard ball stage, 260°F — is poured in a thin, steady stream into the stiff egg whites while the mixer runs, the hot sugar partially cooks and denatures the egg white proteins while simultaneously being incorporated into the foam structure the whites have created. The result is a stable, glossy, brilliantly white candy that holds its shape as it cools and sets.
This is why humidity is the enemy of divinity candy. Egg white foam and cooked sugar syrup are both highly susceptible to moisture. On a humid or rainy day, the candy absorbs moisture from the air faster than it can set, producing a sticky, never-quite-hardened result no matter how perfectly you executed the recipe. Every experienced divinity candy maker will tell you the same thing: choose a dry day, and your divinity will be perfect. Choose a rainy afternoon, and even the best recipe will struggle.
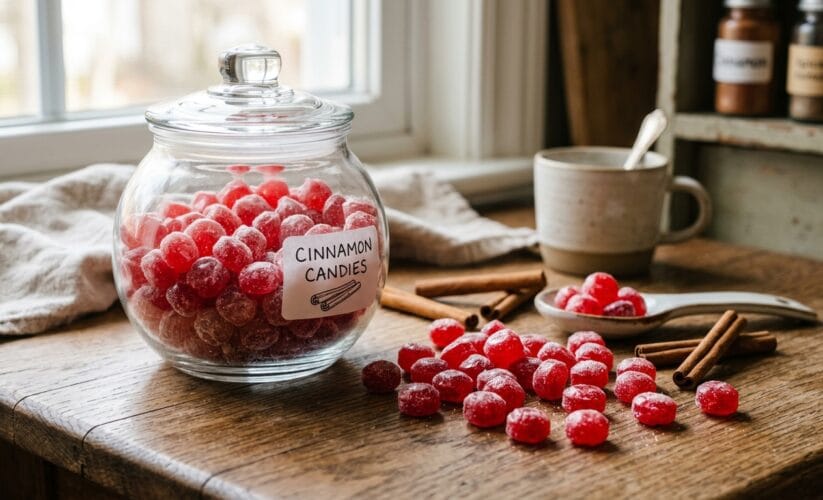
This same principle applies to cinnamon candy, hard tack, and other sugar-based confections. If you have already explored our homemade cinnamon candy recipe and guide, you will recognize the humidity warning immediately — it is the universal rule of sugar-based confection making.
Not Sure What to Cook Today?
Open your fridge, pick a few ingredients… and turn them into a real recipe in seconds.
No guessing. No waste. Just simple, nostalgic meals.Ingredients for Classic Divinity Candy
This recipe produces approximately 40 pieces of divinity candy — enough to fill two holiday tins or gift jars with room to spare.
The Ingredients:
- 2½ cups granulated white sugar
- ½ cup light corn syrup
- ½ cup cold water
- 2 large egg whites, at room temperature
- 1 teaspoon pure vanilla extract
- 1 cup pecan halves or roughly chopped toasted pecans (optional but traditional)
- Pinch of salt
Equipment Required:
- Stand mixer with whisk attachment (strongly preferred — a hand mixer may overheat on this recipe)
- Candy thermometer — non-negotiable
- Heavy-bottomed medium saucepan with a handle for pouring
- Two spoons or a small cookie scoop for portioning
- Parchment or wax paper for setting the candy
- A dry day — this is also an essential ingredient
Step-by-Step Divinity Candy Recipe
Step 1 — Prepare Everything Before You Start
Divinity candy moves fast once the syrup reaches temperature. Before you turn on a single burner, have everything ready: egg whites at room temperature in the stand mixer bowl, the mixer fitted with the whisk attachment, the pecans measured and set aside, the vanilla measured in a small bowl, and parchment paper laid out on a flat surface near your mixer. This preparation is not optional — the candy will begin to set the moment it is beaten, and scrambling for equipment while it stiffens will produce imperfect results every time.
Step 2 — Cook the Sugar Syrup
Combine the sugar, corn syrup, and water in the heavy saucepan. Stir until the sugar is dampened. Place over medium heat and stir until the mixture comes to a boil. Once boiling, stop stirring entirely. Clip the candy thermometer to the side of the saucepan, making sure the bulb is submerged but not touching the bottom. Cook without stirring over medium to medium-high heat until the thermometer reads 260°F — the hard ball stage. This takes approximately 10 to 15 minutes and requires your full attention.
Step 3 — Beat the Egg Whites to Stiff Peaks
When the syrup approaches 240°F, begin beating the egg whites in the stand mixer on medium speed. Add the pinch of salt to help stabilize the foam. By the time the syrup reaches 260°F, the egg whites should be at stiff, glossy peaks — standing straight when the whisk is lifted, white and shining, not dry or grainy. Timing the egg whites to coincide with the syrup hitting temperature is the most important skill in making divinity candy successfully.
Step 4 — Pour the Syrup Into the Egg Whites
With the mixer running on medium-high speed, pour the hot syrup into the egg whites in a thin, steady stream. Aim the syrup between the whisk and the side of the bowl — not directly onto the whisk, which will fling it onto the sides where it will harden useless, and not directly on the egg whites in a big splash. Thin and steady is the technique. Once all the syrup is incorporated, increase the mixer to high speed.
Step 5 — Beat Until the Candy Holds Its Shape
Beat the mixture on high speed for 5 to 8 minutes, until it transforms completely. At first it will be glossy and loose. Then it will begin to thicken. Then it will turn matte rather than shiny — this is the critical signal. When the divinity candy mixture is thick enough to hold a definite shape when dropped from a spoon, and when it falls in thick ribbons rather than flowing like batter, it is ready. Add the vanilla in the last minute of beating, then fold in the pecans by hand with a spatula.
Do not over-beat. Divinity candy that has been beaten past the setting point will become dry and crumbly rather than soft and pillowy.
Step 6 — Scoop and Set
Working quickly, use two spoons or a cookie scoop to drop rounded portions of divinity candy onto the prepared parchment paper. Each piece should be roughly the size of a generous tablespoon. If the mixture begins to stiffen in the bowl before you finish scooping, add a teaspoon of very hot water and beat briefly — this revives it for a few more minutes of workable time.
Set the divinity candy pieces aside at room temperature and allow to harden for 2 to 3 hours. Do not refrigerate — moisture from condensation will make the surface sticky and prevent proper setting. Once fully firm, the pieces will have a slightly crisp outer shell with a soft, pillowy interior — the perfect divinity candy texture.
5 Classic Divinity Candy Variations
1. Cherry Divinity Candy
Fold in half a cup of finely chopped maraschino cherries alongside the pecans in the final step. The cherries add a sweet, fruit-forward note that contrasts beautifully with the vanilla base, and the flecks of red throughout the white candy make each piece look like a small celebration. This is the variation most commonly found on Southern Christmas candy trays alongside peanut brittle and chocolate fudge.
2. Chocolate Drizzle Divinity Candy
After the divinity candy pieces have fully set, melt half a cup of semi-sweet chocolate chips and drizzle over the tops using a spoon or a piping bag. Allow the chocolate to fully harden before storing. The combination of intensely sweet white divinity and slightly bitter chocolate is one of the great flavor contrasts in American confection tradition.
3. Strawberry Divinity Candy
Replace the vanilla extract with one teaspoon of strawberry extract and add two drops of pink food coloring in the final minute of beating. The result is a pale pink, strawberry-scented divinity candy that is particularly popular at spring events, bridal showers, and Easter gatherings. The strawberry version pairs beautifully on a dessert tray alongside the 3-ingredient desserts from condensed milk that Southern home cooks have made for generations.
4. Peppermint Divinity Candy
Replace the vanilla with half a teaspoon of peppermint extract and add a small amount of crushed candy canes on top of each piece before it fully sets. This variation is the most popular Christmas version of divinity candy and belongs in every holiday tin alongside the dump and bake church potluck desserts that filled Southern church tables for decades.
5. Coconut Divinity Candy
Fold in half a cup of sweetened shredded coconut in the final step, omitting or keeping the pecans based on preference. Roll each finished piece in additional shredded coconut before it sets. The coconut adds a delicate chewiness and tropical note that elevates the basic divinity recipe into something that feels genuinely special. This variation appears in Southern recipe collections from the 1940s onward and remains a favorite wherever coconut-forward desserts are appreciated.
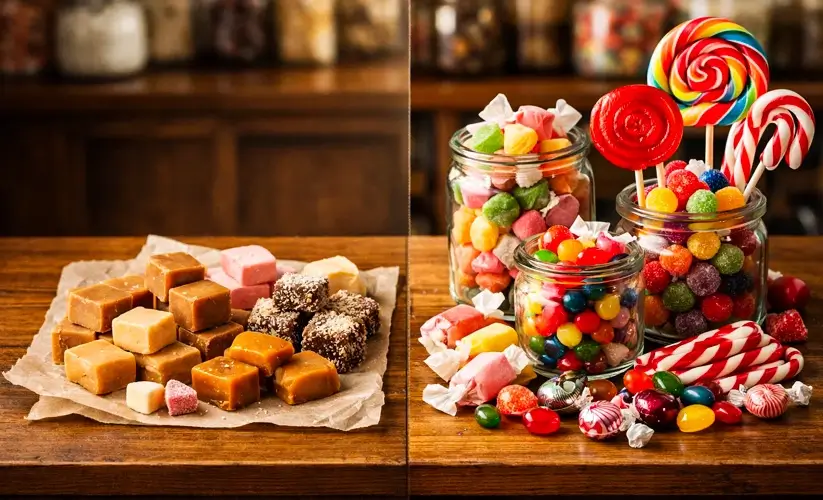
Building the Perfect Holiday Candy Tray Around Divinity Candy
Divinity candy has never been meant to stand alone. Its proper context is the holiday candy tray — a Southern institution that dominated Christmas celebrations from the early 1900s through the 1970s and that deserves a full revival in modern kitchens. A proper candy tray built around divinity candy should include four to six different confections representing a range of textures and flavors.
Classic Holiday Candy Tray Pairings:
The contrast of soft, pillowy divinity candy against hard, glassy cinnamon candy creates one of the most satisfying texture combinations on any candy tray. Our complete cinnamon candy recipe with five variations covers the full process for making brilliant red, boldly spiced cinnamon hard candy that pairs perfectly with divinity candy in a holiday tin.
For a complete old-fashioned dessert and candy spread, the Cookies & Bars collection at Nostalgic Eats and the Desserts & Cakes archive provide the full range of classic American baked sweets that belong on any holiday table alongside divinity candy.
Budget-conscious holiday bakers should also explore the poor man’s cake made with raisins — one of the most beloved Depression-era sweets that American grandmothers made when cream and butter were scarce, using the same resourceful approach to sweetness that makes divinity candy so historically meaningful.
Not Sure What to Cook Today?
Open your fridge, pick a few ingredients… and turn them into a real recipe in seconds.
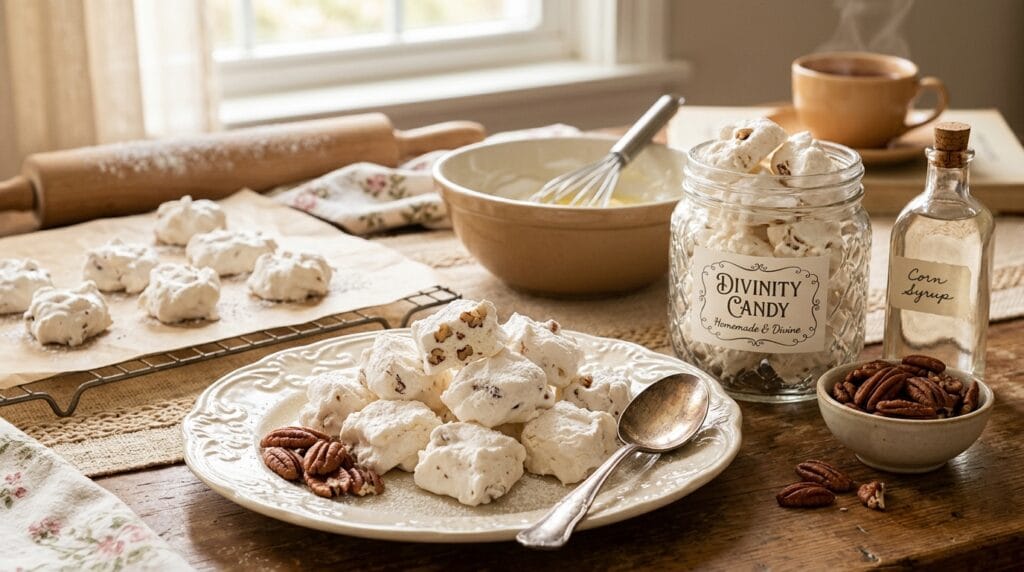
No guessing. No waste. Just simple, nostalgic meals.Packaging Divinity Candy as a Gift
Divinity candy is one of the most beautiful homemade gifts in the American confection tradition. Each piece — rounded, white, and softly matte — looks like a small cloud set in a tin. Here is how to package it properly.
Glass Mason Jars: Layer divinity candy pieces in half-pint mason jars separated by parchment paper squares. The white candy against the glass looks elegant without any additional decoration.
Holiday Tins: The classic presentation. Layer divinity candy with other homemade confections — cinnamon candy, fudge, peanut brittle, cookies — in a decorative tin lined with tissue paper. This is the gift that American grandmothers passed out every December and that recipients still remember decades later.
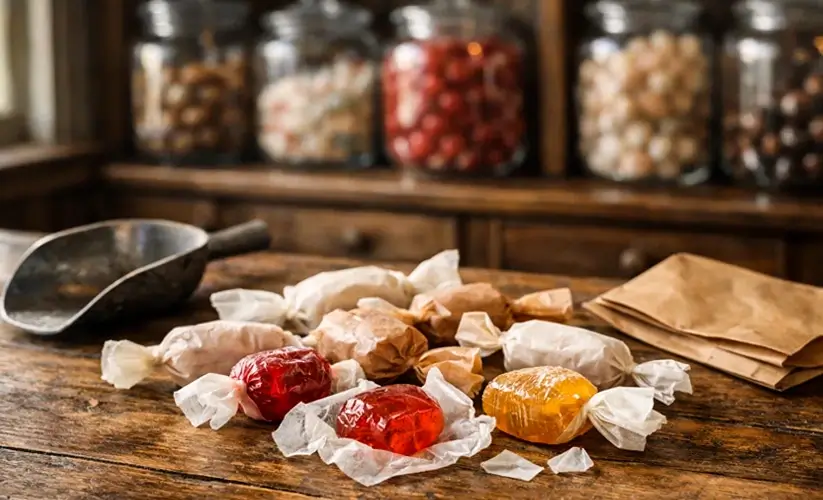
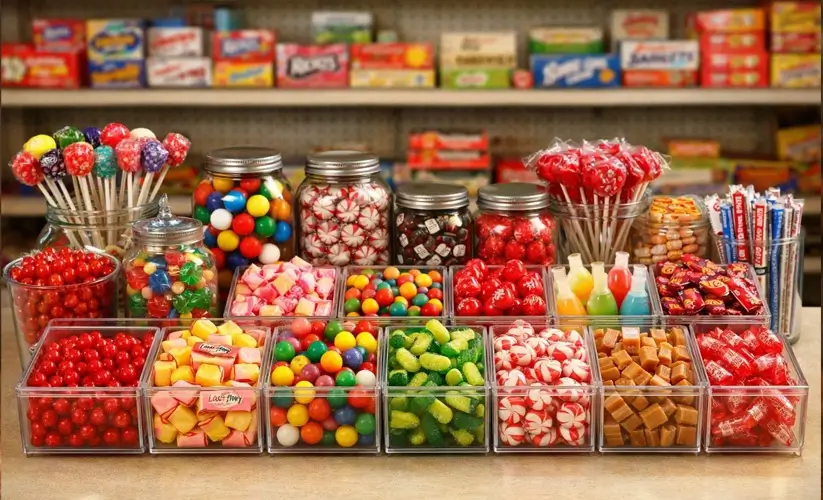
Small Boxes with Wax Paper Lining: Individual pieces of divinity candy wrapped in squares of wax paper, twisted at the ends like old-fashioned candy shop style, recall the penny candy tradition that defined American childhood from the late 1800s through the mid-twentieth century. For anyone who grew up visiting a corner candy store in the penny candy era of the 1950s, this packaging style carries an immediate and powerful wave of nostalgia.
For more on the broader candy culture that divinity candy was once a part of, the full story of whatever happened to penny candy traces how America’s handmade, community-rooted candy tradition evolved — and largely disappeared — over the twentieth century. Understanding that history makes making a batch of divinity candy feel not just like baking, but like preservation.
Expert Tips for Perfect Divinity Candy Every Single Time
Choose Your Day Carefully
This cannot be overstated. Humidity is the single biggest cause of failed divinity candy. Check the weather forecast before you plan your candy-making session. Aim for a day with humidity below 60%. Clear, cool autumn and winter days are ideal — which is exactly why divinity candy became a December tradition in the first place.
Use Room Temperature Egg Whites
Cold egg whites do not whip to full volume. Remove your eggs from the refrigerator at least 30 minutes before you begin. Room temperature whites reach stiff peaks faster and produce a more stable foam, which means better divinity candy every time.
Never Stop the Mixer While Pouring Syrup
The moment the syrup hits stationary egg whites it begins to cook them on contact, creating lumps of cooked egg white rather than the silky, incorporated structure divinity candy requires. Keep the mixer running at all times during the pour.
Watch for the Matte Finish
The single most reliable visual cue that divinity candy is ready to scoop is the transition from glossy to matte. While the candy beats and thickens, it will look shiny and wet. The moment it dulls to a soft matte finish and holds a definite shape, it is ready. Beat any longer and it will become crumbly.
Work Fast When Scooping
Once divinity candy begins to set it sets quickly, especially in a cool kitchen. Have your parchment ready, have a helper if possible, and scoop without pausing. If the candy stiffens in the bowl before you finish, add a teaspoon of very hot water and beat on high for thirty seconds to restore workability.
Using Our Recipe Tool to Find More Classic Candy Pairings
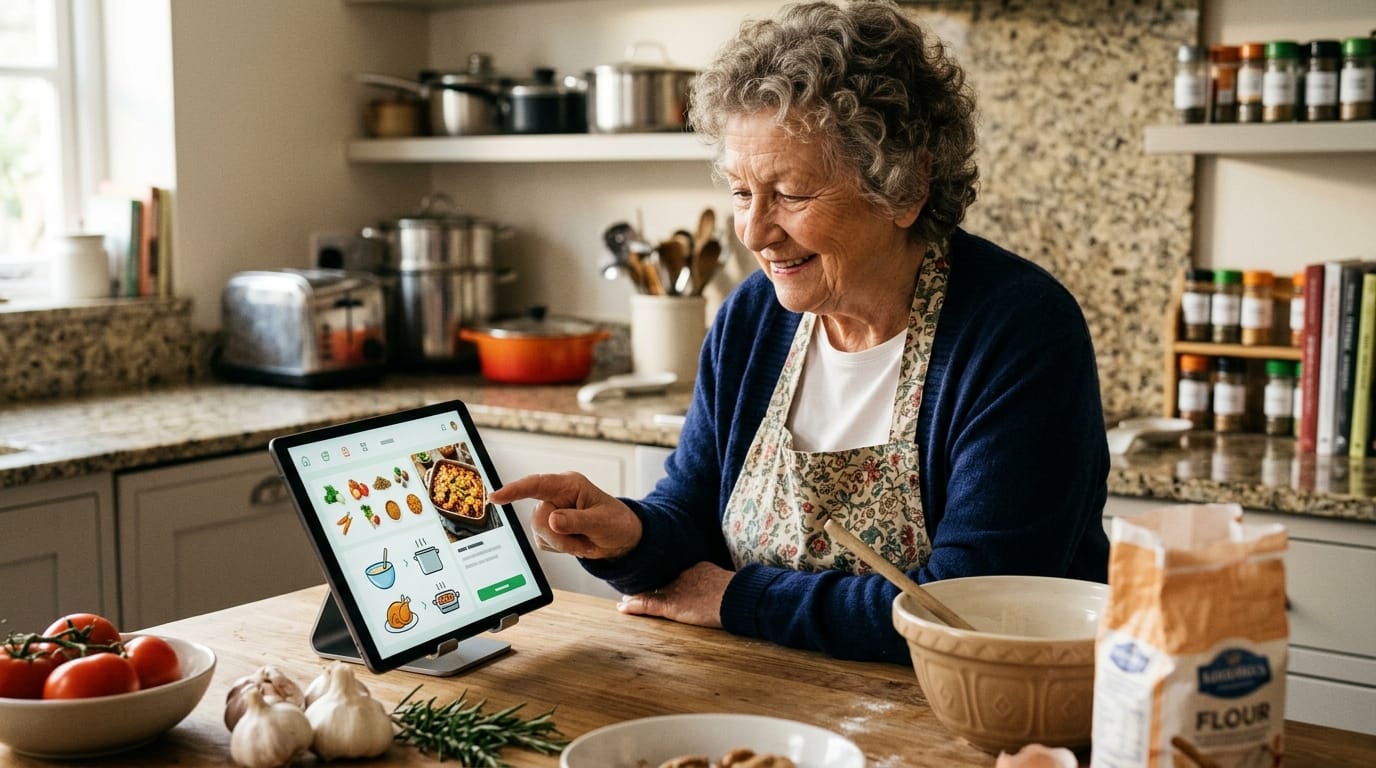
If you want to discover more old-fashioned sweets that pair well with divinity candy on a holiday dessert tray, the free Recipe Maker tool at Nostalgic Eats is the fastest way to find tested classic recipes using whatever ingredients you currently have. Enter what is in your kitchen — sugar, corn syrup, egg whites, pecans, butter, chocolate — and the tool returns matching recipes from the full Nostalgic Eats collection. You can also use the ingredient-entry version of the recipe maker to search by specific ingredients for even more targeted results.
Frequently Asked Questions
Why did my divinity candy not set properly?
The two most common causes are humidity and under-cooking the syrup. If your kitchen or the outside air is humid, divinity candy will absorb moisture and never firm up completely. If the syrup did not reach 260°F before being poured, the final candy will be soft and sticky. A reliable candy thermometer and a dry day solve both problems.
Can I make divinity candy without a stand mixer?
Technically yes, but it is genuinely difficult. The mixture needs to be beaten continuously and vigorously for up to eight minutes while remaining thick — this exhausts a hand mixer motor and is nearly impossible by hand for most people. A stand mixer is strongly recommended for any serious divinity candy attempt.
How long does divinity candy last?
Stored in an airtight container at cool room temperature, divinity candy lasts five to seven days with full freshness. Keep pieces separated by parchment paper to prevent sticking. Do not refrigerate — condensation from the fridge makes the surface sticky and ruins the texture.
Can I freeze divinity candy?
Freezing is generally not recommended. The moisture introduced during thawing tends to make the candy sticky and alters its characteristic texture. If you need to make it more than a week ahead, consider making a fresh batch closer to the occasion.
Why is my divinity candy grainy?
Grainy divinity candy is caused by sugar crystallization, usually from stirring the syrup during cooking after it has come to a boil. Once the sugar syrup has started boiling, do not stir — let it cook undisturbed to temperature. If a few crystals form on the sides of the pan, brush them down with a pastry brush dipped in warm water.
Does divinity candy have to contain pecans?
No. Pecans are traditional in Southern divinity candy but are entirely optional. Many families make plain divinity candy without any nut additions, and others substitute walnuts, almonds, or peanuts depending on preference and availability. The base recipe works perfectly with or without nuts.
What is the difference between divinity candy and nougat?
Both are made by incorporating hot sugar syrup into egg whites, but nougat typically includes butter or honey and has a denser, chewier texture. Divinity candy is lighter, airier, and more delicate — closer to a firm meringue than to a chewy candy. Divinity sets at room temperature without refrigeration; most nougat requires cooling to firm properly.
Conclusion
Divinity candy is one of the most genuinely beautiful things American home kitchens have ever produced. It requires no special equipment beyond a candy thermometer and a stand mixer, uses five simple pantry ingredients, and produces a result so light and sweet and perfectly textured that it has earned its place on Southern holiday tables for well over a hundred years.
The keys are consistent and simple: choose a dry day, cook the syrup to exactly 260°F, have the egg whites at stiff peaks ready to receive it, beat until matte and shape-holding, and scoop quickly. Follow these principles and the divinity candy will be exactly right — cloud-like, pillowy, sweet with vanilla, rich with toasted pecans, and genuinely worth the care it takes to make.
Not Sure What to Cook Today?
Open your fridge, pick a few ingredients… and turn them into a real recipe in seconds.
No guessing. No waste. Just simple, nostalgic meals.Package it in mason jars, load it into holiday tins alongside cinnamon candy and old-fashioned cookies, and share it the way Southern grandmothers always did — generously, with pride, and with the quiet knowledge that something made by hand always means more than something bought in a bag.
For more classic American holiday candy and dessert recipes built on the same traditions, explore the complete Desserts & Cakes archive at Nostalgic Eats — and keep the old-fashioned candy-making tradition alive one batch at a time.