Easy Homemade Stovetop Chili Con Carne Classic Recipe

Why Texas Chili Never Has Beans (And Everyone Else’s Does)
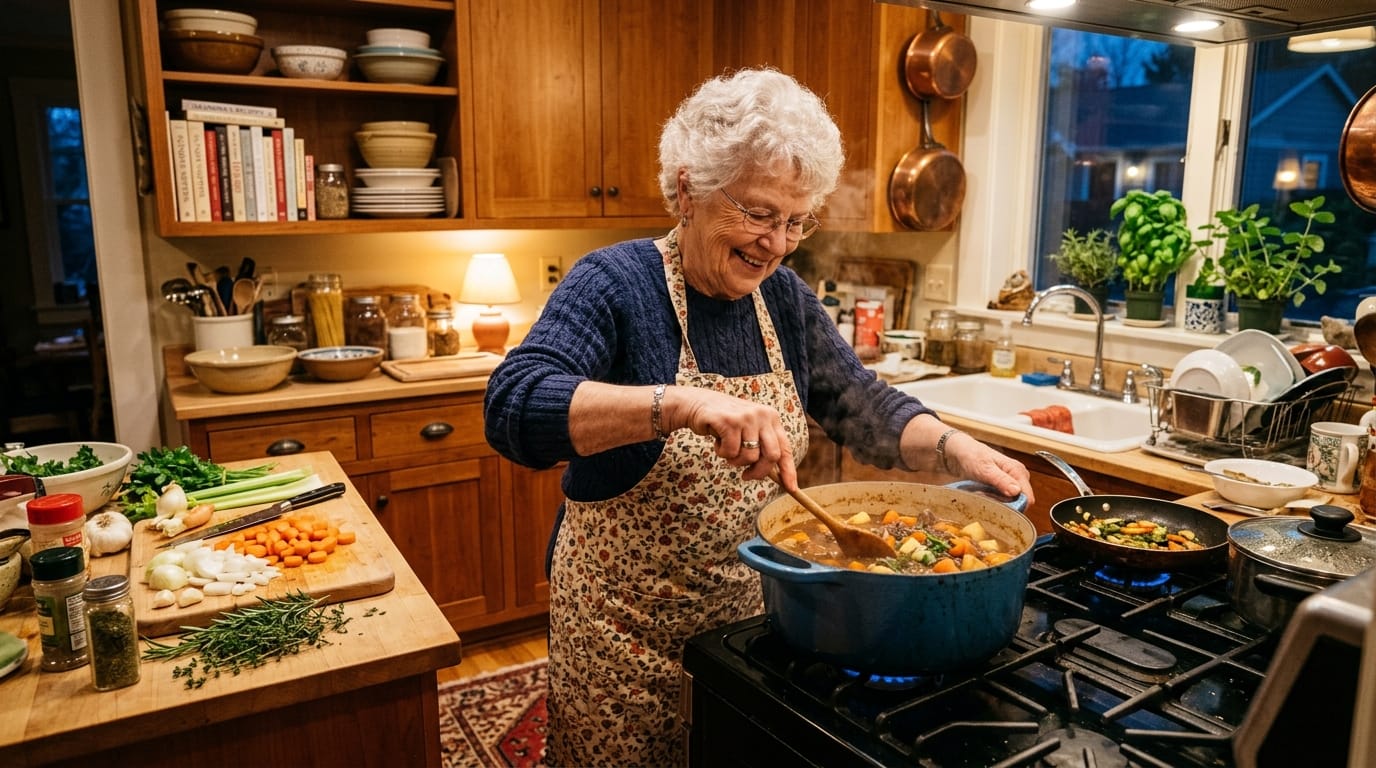
I grew up eating chili with beans and thought that’s just how chili was made. Then I visited Texas and ordered chili at a local diner — the kind of authentic American food tradition that’s been kept alive for over a century. When it arrived—just meat, peppers, and sauce—I asked where the beans were. The waitress looked at me like I’d asked for ketchup on a steak.
She explained that real Texas chili never contains beans because the original chili was made by cowboys on cattle drives in the 1800s. They carried dried chiles and beef, but beans were too heavy and took too long to cook over campfires. The meatonly tradition stuck, and Texans still consider beans in chili a crime against culinary heritage.
But here’s the truth most people don’t know: both versions are legitimate. Texas-style chili evolved from cattle drive necessity, while chili with beans developed later when home cooks stretched expensive beef by adding cheap beans during the Depression — the same resourceful thinking behind this classic bean and ham soup.
This recipe gives you the technique for perfect stovetop chili, whether you choose the bean-free Texas way or the beany version everyone else makes. The secret to either is getting the consistency exactly right—thick enough to coat a spoon but not so thick it’s a paste.
Quick Recipe Reference
Ingredients You’ll Need
Main Ingredients:
- 2 pounds ground beef (80/20 blend)
- 1 large onion, diced
- 4 cloves garlic, minced
- 1 can (28 oz) crushed tomatoes
- 1 can (15 oz) tomato sauce
- 1 cup beef broth
- 2 tablespoons chili powder
- 1 tablespoon ground cumin
- 2 teaspoons paprika
- 1 teaspoon oregano
- 1 teaspoon salt
- ½ teaspoon black pepper
- ¼ teaspoon cayenne pepper (adjust for heat)
Optional Bean Addition:
- 2 cans (15 oz each) kidney beans, drained and rinsed
Secret Ingredients (Optional but Recommended):
- 1 tablespoon cocoa powder (adds depth)
- 1 tablespoon instant coffee (enhances beef flavor)
- 1 tablespoon brown sugar (balances acidity)
- 1 tablespoon apple cider vinegar (brightens flavors)
- 2 bay leaves
For Serving:
- Shredded cheddar cheese
- Sour cream
- Diced onions
- Sliced jalapeños
- Corn chips or homemade cornbread
Understanding Why Chili Gets Watery (And How to Prevent It)
The number one complaint about homemade chili is that it turns out too watery. This happens because people don’t understand the relationship between cooking time, heat level, and liquid evaporation.
Ground beef releases moisture as it cooks. Tomatoes contain water. Onions release liquid when heated. All this liquid needs to evaporate to create proper chili consistency. If you cook chili covered or on low heat, moisture can’t escape and you end up with beef soup instead of chili.
The solution is simple: always cook chili partially uncovered after the initial simmer. This allows steam to escape while still preventing excessive evaporation. The last 30 minutes should be completely uncovered with frequent stirring.
Simmering temperature matters too. A gentle simmer (small bubbles breaking the surface) is perfect. Rolling boil evaporates liquid too fast and can make meat tough. Barely simmering doesn’t reduce liquid enough.
Thickening agents work in emergencies. If your chili is still too watery after cooking, make a slurry of 2 tablespoons cornstarch mixed with 2 tablespoons cold water. Stir it in and simmer for 5 more minutes. The chili will thicken dramatically.
The Secret Ingredients That Make Chili Taste Better
Professional chili cooks add unexpected ingredients that home cooks skip. These secret additions create depth and complexity that basic chili lacks.
Cocoa powder or dark chocolate adds richness without making chili taste like chocolate — the same technique used in this deeply flavored tamale pie. Just 1 tablespoon deepens the color and creates subtle complexity. This is an authentic Mexican technique used in mole sauce.
Instant coffee enhances beef flavor through a process called flavor layering. The coffee taste disappears completely but makes the beef taste more intensely beefy. Professional steakhouses use this trick in beef rubs.
Brown sugar balances tomato acidity. Tomatoes can taste harsh without sweetness to counteract their natural acidity. Just a tablespoon creates perfect balance.
Apple cider vinegar brightens all the other flavors. Added in the last 10 minutes of cooking, vinegar makes everything taste more vivid and fresh rather than flat and one-dimensional.
Bay leaves add aromatic complexity that’s hard to describe but immediately noticeable. Always remove them before serving—they’re woody and inedible but their flavor infuses beautifully during cooking.
How to Make Stovetop Chili Con Carne
Step 1: Brown the Beef Properly
Heat a large pot or Dutch oven over medium-high heat. Add ground beef, breaking it up with a wooden spoon. Cook for 7-8 minutes until deeply browned, not just gray.
The key is developing fond—those brown bits stuck to the bottom of the pot. These concentrated flavor compounds create the base for incredible chili. Don’t stir too frequently or the meat won’t brown properly.
If using lean beef, add 1 tablespoon oil before browning. If using 80/20 beef, no additional fat is needed. Drain excess fat if more than 2 tablespoons accumulates, but leave some for flavor.
Step 2: Sauté Aromatics
Push the browned beef to the sides of the pot. Add diced onions to the center. Cook for 4-5 minutes until softened and translucent. Add minced garlic and cook for 1 minute more until fragrant.
Don’t add garlic too early—it burns easily and turns bitter. Always add garlic after onions have softened.
Step 3: Bloom the Spices
Add chili powder, cumin, paprika, oregano, salt, pepper, and cayenne directly to the beef and onions. Stir constantly for 1-2 minutes until the spices smell fragrant and toasted.
This technique, called blooming, unlocks complex flavors trapped in dried spices. Raw spice powder tastes flat; toasted spices taste deep and aromatic.
Step 4: Add Liquids and Tomatoes
Pour in crushed tomatoes, tomato sauce, and beef broth. Stir well, scraping up all the brown bits from the bottom of the pot. These bits dissolve into the liquid and create incredible depth.
Add your secret ingredients now if using: cocoa powder, instant coffee, brown sugar, and bay leaves. Stir until completely incorporated.
Step 5: Simmer Partially Covered
Bring to a boil, then reduce heat to medium-low. The chili should maintain a gentle simmer with small bubbles occasionally breaking the surface. Cover the pot, leaving it slightly ajar (about 1 inch opening).
Simmer for 45 minutes, stirring every 10-15 minutes to prevent sticking. The chili will thicken considerably during this time as liquid evaporates.
Step 6: Add Beans (If Using)
If making chili with beans, add drained and rinsed kidney beans after the 45-minute simmer. Stir them in gently. Cook for another 15 minutes to heat the beans through and let flavors blend.
If making Texas-style chili without beans, skip this step and continue simmering.
Step 7: Final Uncovered Simmer
Remove the lid completely. Simmer uncovered for the final 30 minutes, stirring every 5-10 minutes. Watch the consistency carefully. The chili should be thick enough that a spoon dragged across the bottom leaves a trail that slowly fills in.
Add the apple cider vinegar during the last 10 minutes. Taste and adjust seasoning—you might want more salt, heat, or sugar depending on your tomatoes and personal preference.
Step 8: Rest Before Serving
Turn off the heat and let the chili rest for 10 minutes before serving. This resting period allows flavors to settle and makes the chili taste more cohesive. Remove bay leaves if you used them.
Ladle into bowls and serve with your favorite toppings. Chili tastes even better the next day after flavors have had more time to meld.
Pro Tips for Perfect Chili
Use 80/20 Ground Beef, Not Lean: The fat content adds flavor and creates better texture. Lean beef makes dry, crumbly chili.
Don’t Skip Browning: Don’t Skip Browning: Properly browned meat creates 80% of chili’s flavor — just like the deep browning technique that makes this Swiss steak so incredibly tender and rich
Bloom Your Spices: Always toast spices in the hot pot before adding liquids. This 2-minute step transforms spice flavor dramatically.
Low and Slow Wins: Chili needs time for connective tissues to break down and flavors to develop. Rushing it produces inferior results.
Taste as You Go: Adjust seasoning throughout cooking. What tastes right at the beginning will taste wrong at the end as flavors concentrate.
Make It a Day Ahead: Chili always tastes better on day two. The overnight rest allows flavors to fully integrate.
Freeze in Portions: Chili freezes beautifully for up to 3 months. Portion into individual servings for easy weeknight dinners.
Easy Variations to Try
Cincinnati Chili: Add 1 teaspoon cinnamon and ½ teaspoon allspice. Serve over spaghetti with cheese, beans, and onions.
White Chicken Chili: Replace beef with chicken, use white beans, add green chiles, and substitute chicken broth for beef broth.
Vegetarian Chili: Skip meat entirely, double the beans, and add diced bell peppers, corn, and extra cumin.
Spicy Fire Chili: Double the cayenne, add diced jalapeños, and stir in hot sauce to taste for extreme heat lovers.
Beer Chili: Beer Chili: Replace beef broth with dark beer for malty depth and complexity — the same bold beef flavor you’ll find in this hearty beef stew
Smoky Chipotle: Add 2 chopped chipotle peppers in adobo sauce for smoky heat.
Frequently Asked Questions
Why is my chili watery and how do I fix it?
Cook it uncovered for the last 30 minutes to allow excess liquid to evaporate. If still watery, make a cornstarch slurry (2 tablespoons cornstarch + 2 tablespoons cold water), stir it in, and simmer 5 more minutes.
Should chili have beans or not?
Both are authentic. Texas-style chili never has beans due to cowboy trail cooking traditions. Everywhere else, chili typically includes beans. Make whichever version you prefer—both are delicious.
What is the secret ingredient in chili?
Most competition chili cooks use cocoa powder and instant coffee to add depth without recognizable chocolate or coffee flavor. These ingredients enhance existing flavors rather than adding new ones.
How long should chili simmer?
At least 60 minutes, ideally 90 minutes. The extended simmering allows flavors to develop and meld together while creating perfect thick consistency.
Can I make chili in advance?
Yes, chili actually tastes better when made a day ahead. The overnight rest allows flavors to fully integrate. Refrigerate up to 4 days or freeze up to 3 months.
Why does my chili taste bland?
You didn’t bloom the spices, didn’t brown the meat properly, or need more salt. Always toast spices before adding liquid and don’t be shy with salt—it makes all other flavors pop.
Conclusion
This easy homemade stovetop chili con carne proves that great chili doesn’t require fancy equipment or complicated techniques—just proper browning, patient simmering, and understanding how consistency develops over time. Whether you make it Texas-style without beans or add beans like most Americans, the fundamental technique remains the same: build deep flavor through browning and spice toasting, then simmer long enough for everything to meld together into thick, rich perfection. The secret ingredients of cocoa powder and instant coffee elevate this from basic chili to competition-worthy depth, while the partially covered simmering technique prevents the watery consistency that plagues most homemade batches. Ready to make chili that tastes like it simmered all day? Brown that beef properly, bloom those spices, and discover why stovetop chili remains America’s favorite cold-weather comfort food — right alongside this old-fashioned meatloaf with brown sugar glaze that has fed American families for generations. In ninety minutes, you’ll have a pot of chili so good that the beans-or-no-beans debate becomes irrelevant—it’s simply delicious either way.