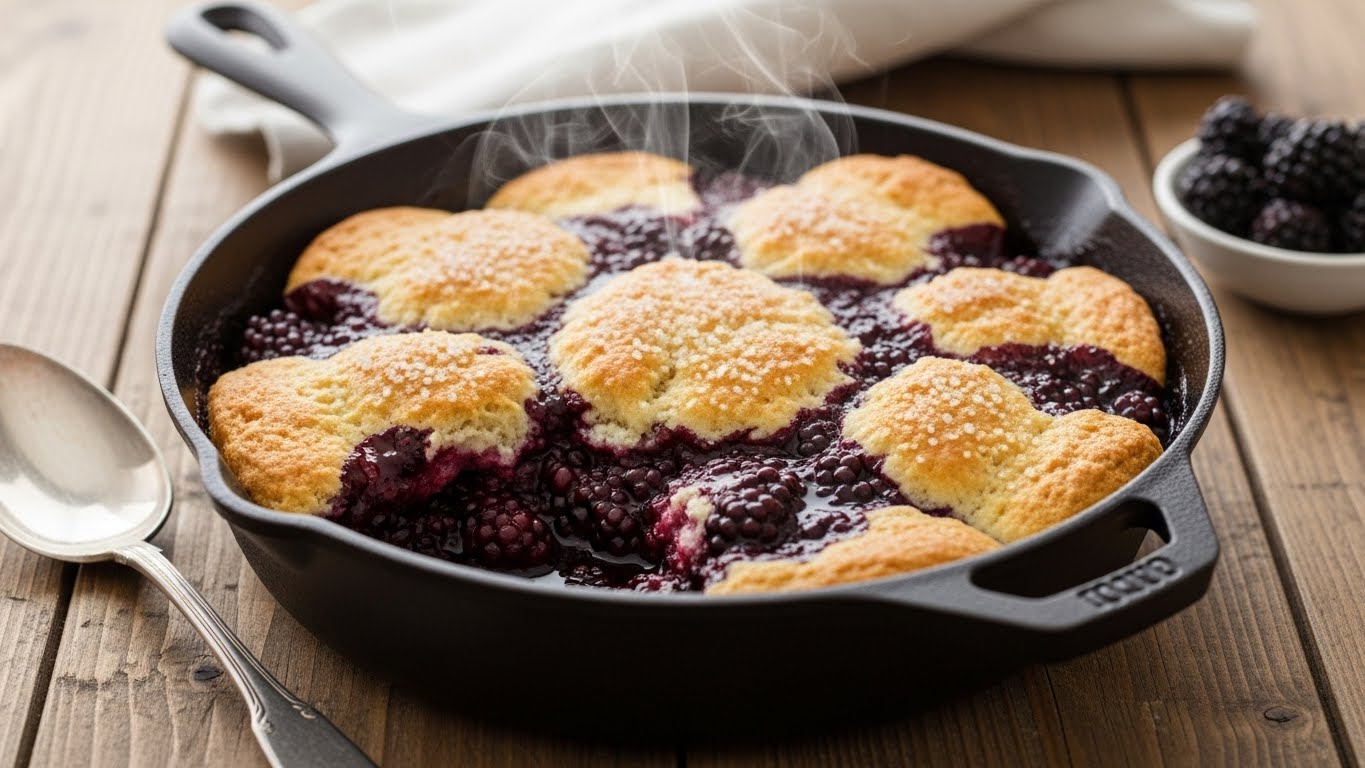
Classic Apple Pie Recipe: Easy Homemade Pie from Scratch

Grandma’s Old Fashioned Apple Pie Recipe From Scratch — The Smell That Brings Everyone Running
It was a Tuesday in November. I was nine years old, doing homework at the kitchen table, when it hit me — warm, spiced, sweet, and somehow golden-smelling, if gold had a smell. I dropped my pencil. My brother appeared from nowhere. Even the dog stood up.
Grandma hadn’t announced she was baking. She never did. She just quietly pulled butter from the coldest shelf, gathered her apples, and got to work. By the time anyone noticed, the whole house was already wrapped in that smell — the one that no candle, no plug-in, no fancy extract has ever come close to recreating.
Not Sure What to Cook Today?
Open your fridge, pick a few ingredients… and turn them into a real recipe in seconds.
No guessing. No waste. Just simple, nostalgic meals.Grandma’s old fashioned apple pie recipe from scratch is what you’re here for today. Not a shortcut version. Not a store-crust, canned-filling version. The real one. The full one. The one that makes nine-year-olds drop their pencils.
Welcome to Nostalgic Eats — where every recipe has a story behind it, and this one has a Tuesday in November.
She Never Measured a Thing — And That’s Exactly Why This Recipe Matters
Grandma’s kitchen was not a laboratory. There were no digital scales, no leveled measuring cups, no sifted flour dusted off a bench scraper. She measured by feel. A scoop of flour until it looked right. Butter until it felt right. Water until the dough came together in her hands — and she always knew the exact moment that happened.
The problem with inherited knowledge is that it dies without translation. When she passed, we had memories of the pie — the taste, the smell, the way the crust shattered lightly when the fork touched it — but not the actual numbers. It took three years, dozens of test batches, and two flour-dusted notebooks to reverse-engineer Grandma’s old fashioned apple pie recipe from scratch into something repeatable.
Every number in this recipe was earned.
According to King Arthur Baking, the science of a perfect pie crust comes down to one thing above all: cold fat. Butter must stay cold enough to create steam pockets during baking — those pockets are the flakes. Grandma instinctively kept her butter on the coldest shelf. She didn’t know the word “lamination.” She just knew what worked.
💡 Grandma’s Rule: She chilled the dough twice — once right after mixing, once again after shaping into the pan. “Hurried dough makes ugly pie,” she’d say. We tested that too. She was right.
Not Sure What to Cook Today?
Open your fridge, pick a few ingredients… and turn them into a real recipe in seconds.
No guessing. No waste. Just simple, nostalgic meals.Recipe Quick Stats
Classic Apple Pie: At-a-Glance
Ingredients You’ll Need
For the Classic Apple Pie Buttery Crust:
- 2½ cups all-purpose flour
- 1 teaspoon salt
- 1 cup shortening or butter, cold and cubed
- ¼ to ½ cup ice water
For the Traditional Apple Pie Filling:
- 8 cups thinly sliced apples (about 8 medium apples)
- ¾ cup sugar
- 2 tablespoons all-purpose flour
- 1 teaspoon ground cinnamon
- ¼ teaspoon ground nutmeg
- 2 tablespoons butter, cut into small pieces
For Finishing:
- 1 tablespoon milk (for brushing)
- 1 tablespoon sugar (for sprinkling)
How to Make Classic Apple Pie Recipe
Making the Flaky Crust
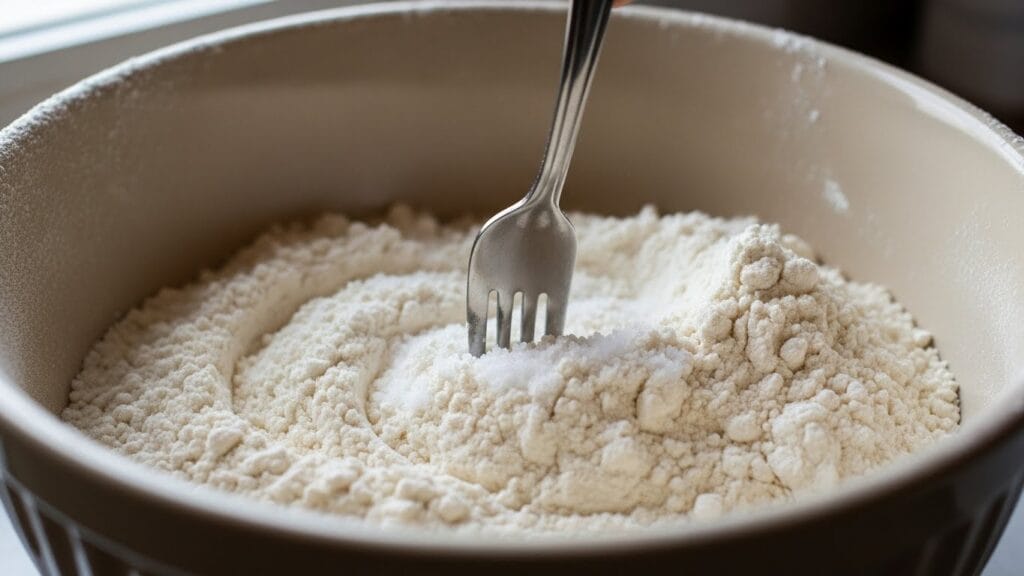
Step 1: Mix the Dry Ingredients In a large bowl, combine the flour and salt. Stir them together with a fork
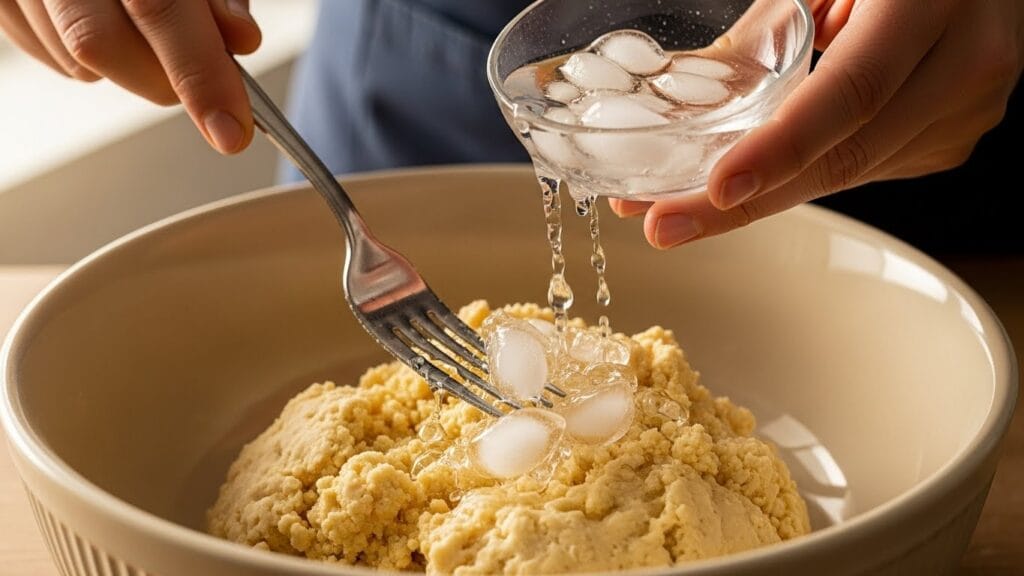
Add ice water one tablespoon at a time, tossing with a fork after each addition. Stop the moment the dough holds together when squeezed in your fist. Divide in half, flatten into thick disks, wrap tightly, and refrigerate for at least 1 hour. Sally’s Baking Addiction is direct about this: skipping the chill produces shrinking, tough, unhappy crust..
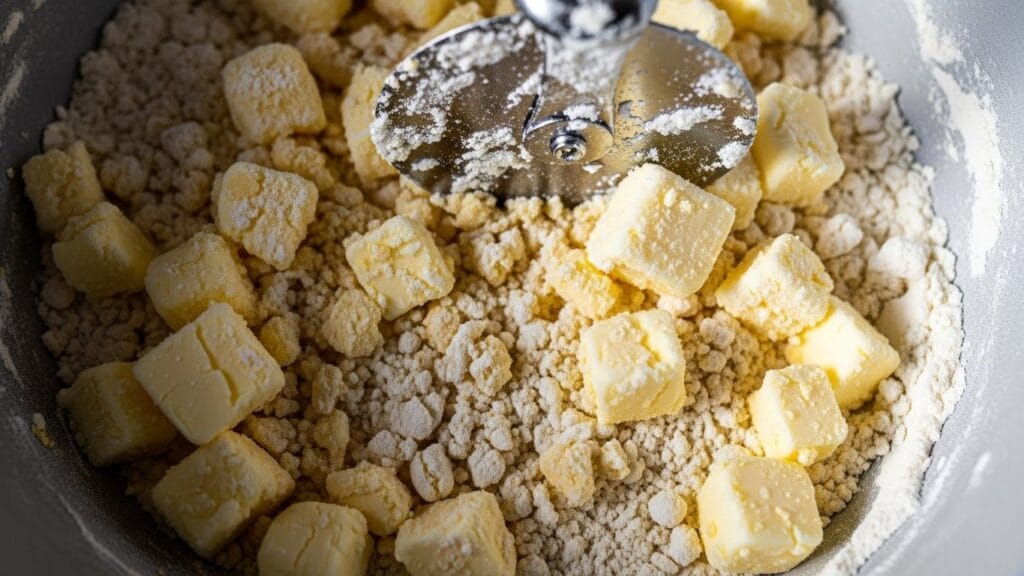
Step 2: Cut in the Fat Add the cold, cubed shortening or butter. Using a pastry cutter, two knives, or your fingers, cut the fat into the flour until the mixture looks like coarse crumbs or small peas. This is what creates the flaky layers!
Step 3: Add Ice Water Sprinkle ice water over the mixture, one tablespoon at a time, tossing with a fork after each addition. Add just enough water so the dough comes together when you squeeze it. Don’t add too much water or the crust will be tough.
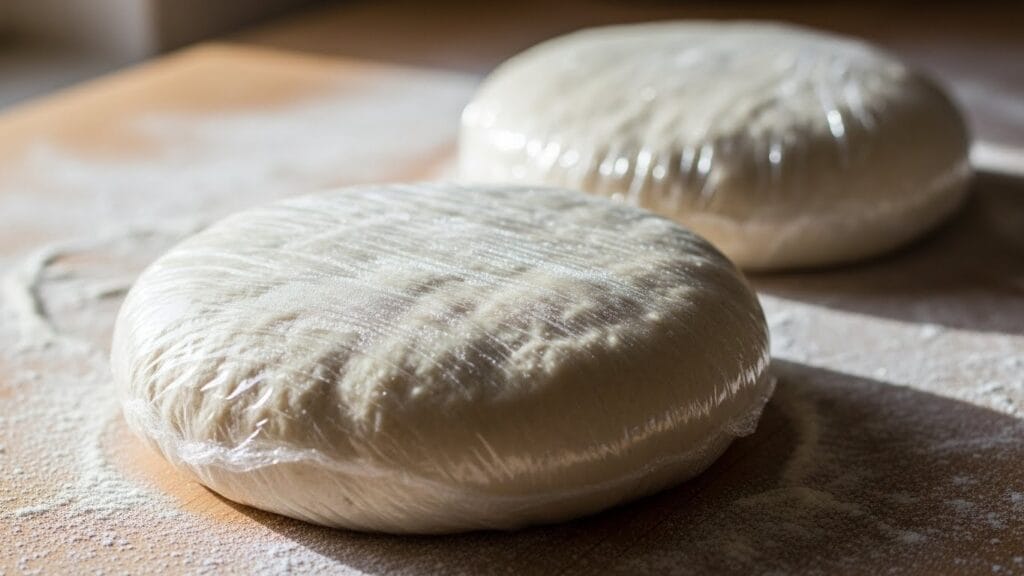
Step 4: Form and Chill Gather the dough into a ball, divide it in half, and flatten each half into a disk. Wrap each disk in plastic wrap and refrigerate for at least 30 minutes. This rest period helps create a tender, flaky crust.
Making the Apple Filling
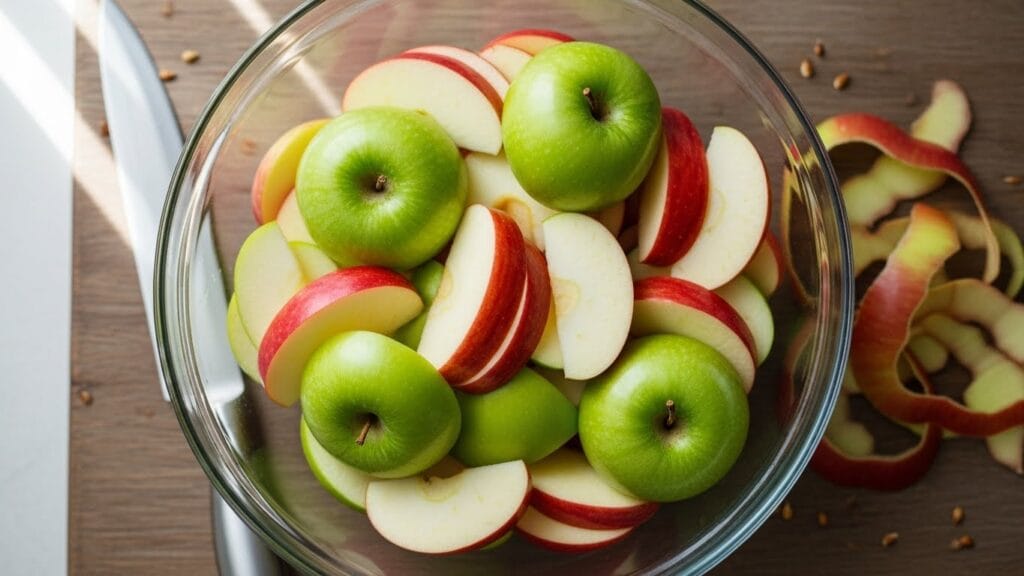
Step 5: Prepare the Apples Peel, core, and thinly slice your apples. Good choices include Granny Smith, Honeycrisp, or a mix of tart and sweet varieties. You’ll need about 8 medium apples.
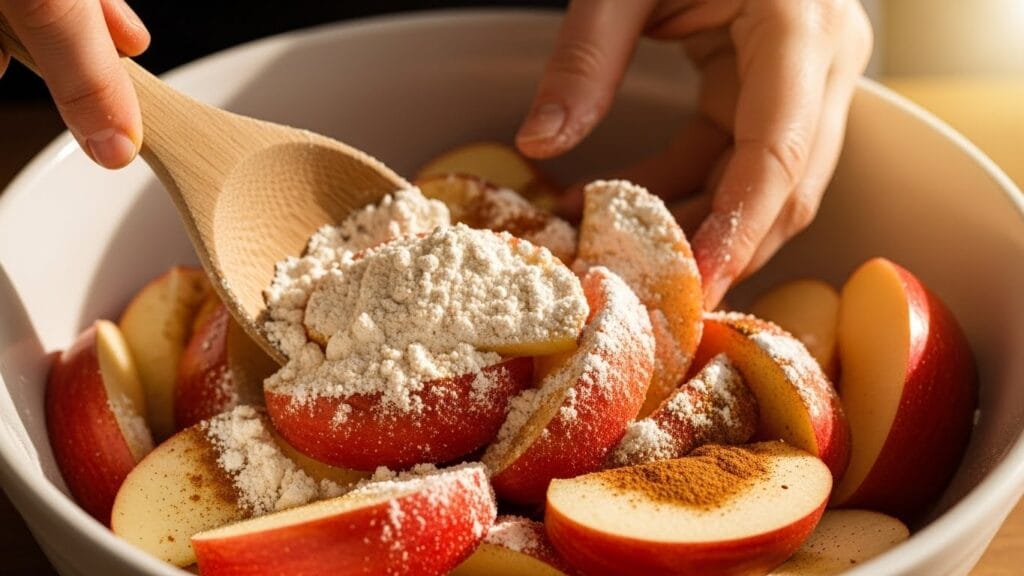
Step 6: Mix the Filling In a large bowl, combine the sliced apples with sugar, flour, cinnamon, and nutmeg. Toss everything together until the apples are evenly coated. The flour helps thicken the juices as the pie bakes.
Assembling and Baking
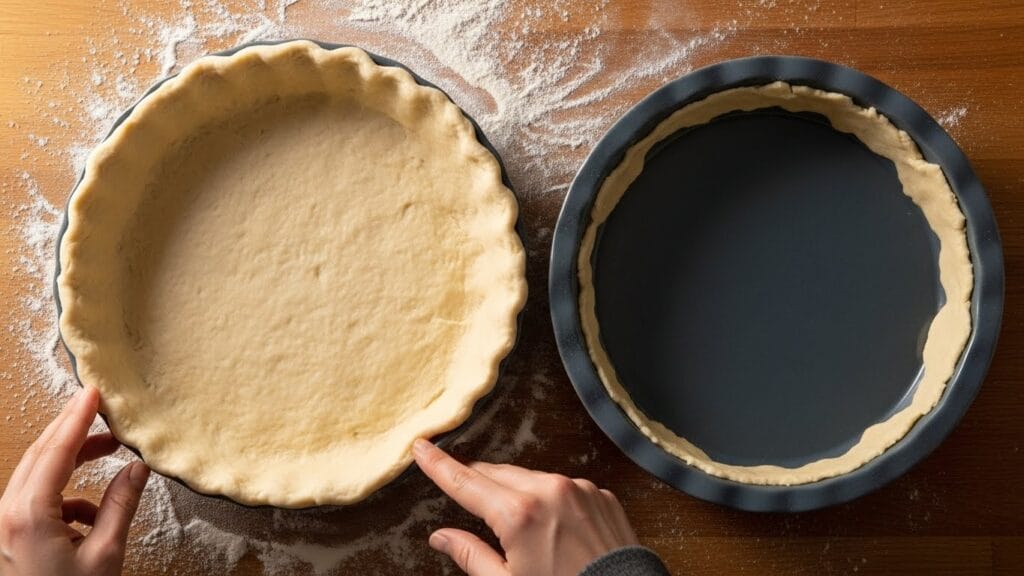
Step 7: Roll Out Bottom Crust Preheat your oven to 375°F. On a lightly floured surface, roll out one disk of dough into a 12-inch circle. Carefully transfer it to a 9-inch pie plate. Gently press it into the bottom and sides. Trim the edges, leaving about ½ inch hanging over.
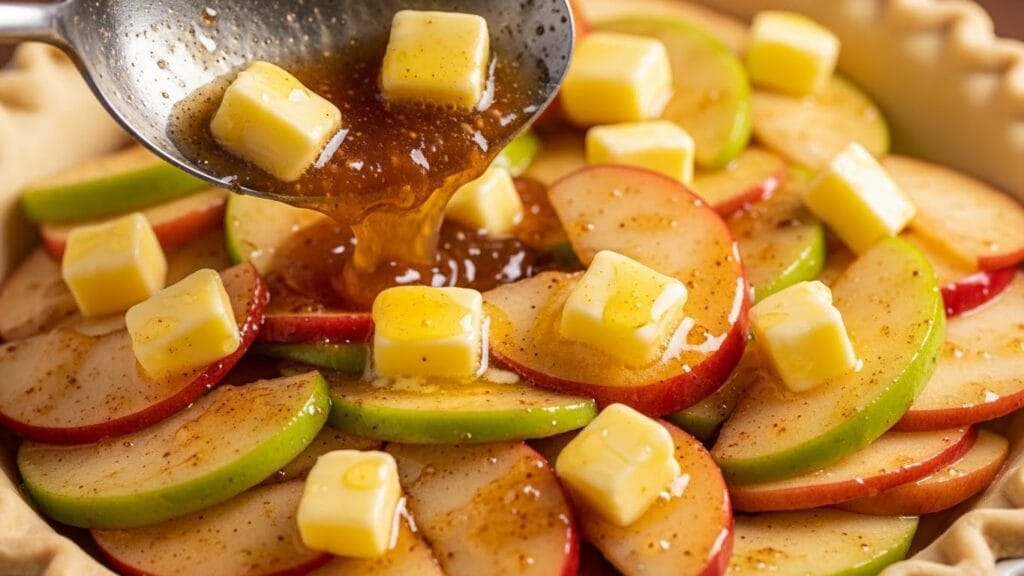
Step 8: Add the Filling Pour the apple mixture into the crust, spreading it evenly. Dot the top with small pieces of butter—this adds richness and helps create a delicious sauce.
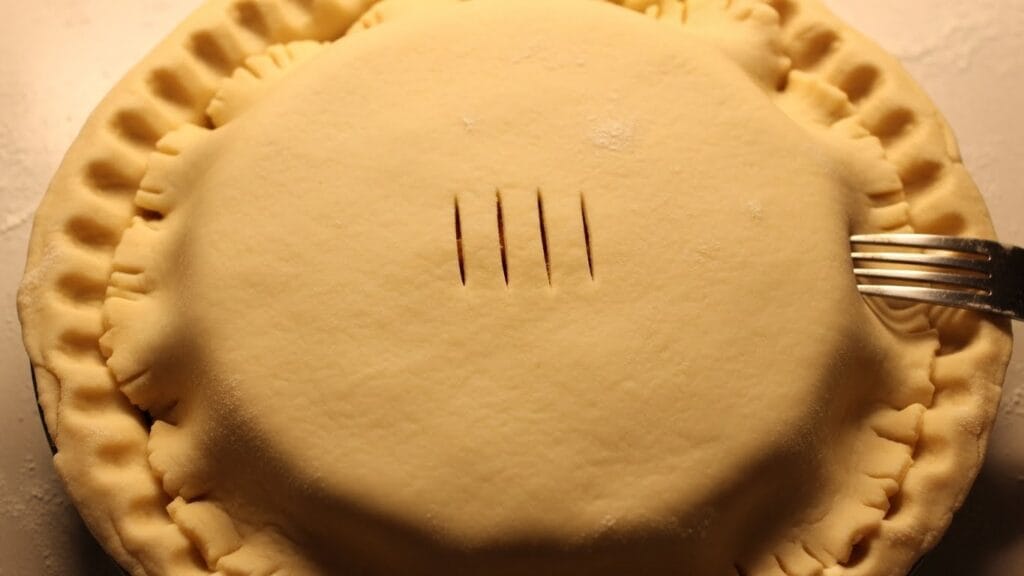
Step 9: Add Top Crust Roll out the second disk of dough into a 12-inch circle. Place it over the filling. Trim the edges, leaving about ½ inch overhang. Fold the top crust edge under the bottom crust edge and crimp with your fingers or a fork to seal. Cut 4-5 small slits in the top to let steam escape.
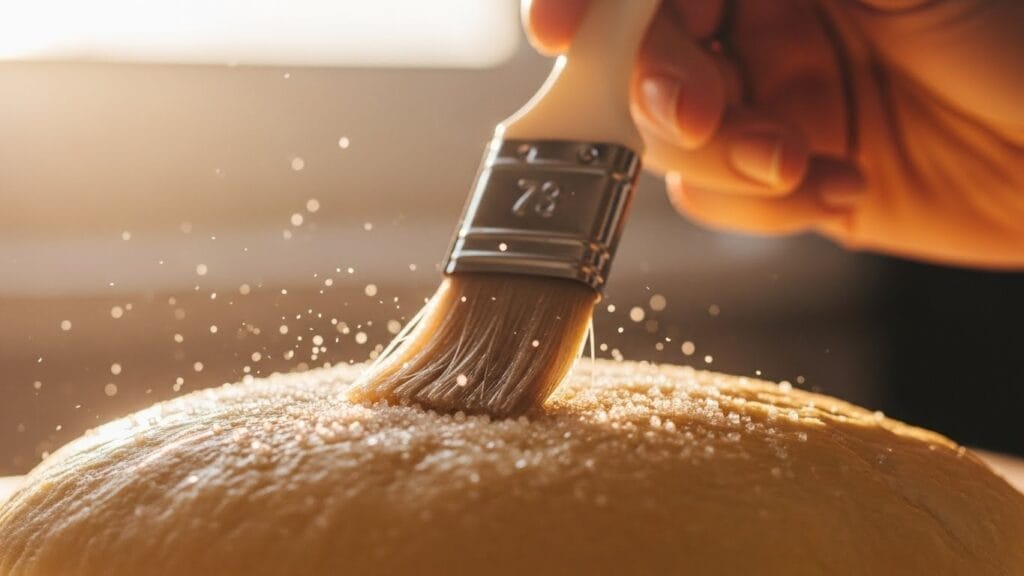
Step 10: Brush and Sprinkle Brush the top crust with milk and sprinkle with sugar. This creates a beautiful golden, slightly sparkly finish.
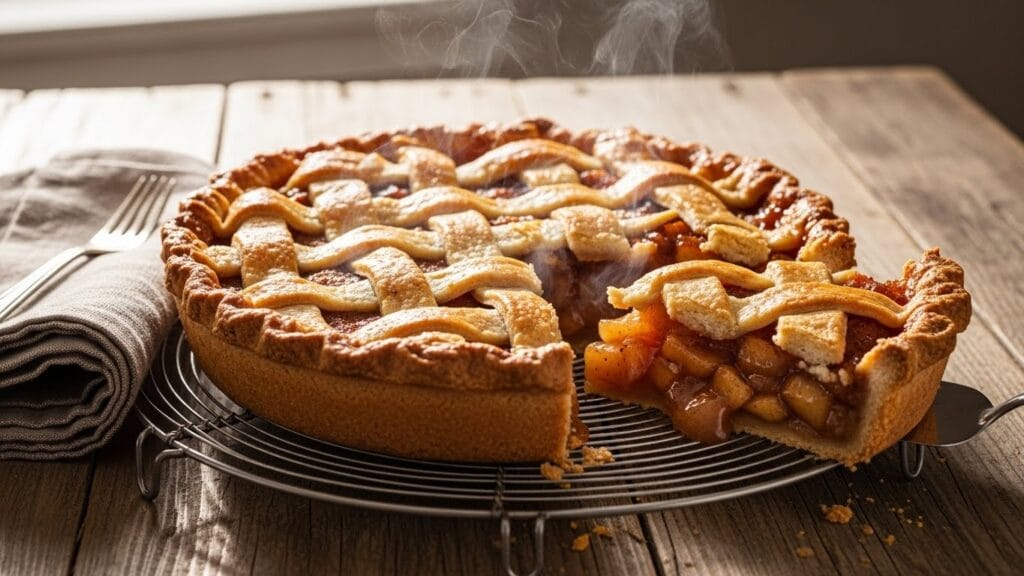
Step 11: Bake Place the pie on a baking sheet (to catch drips) and bake for 50-60 minutes. The crust should be golden brown and you should see the filling bubbling through the slits. If the edges brown too quickly, cover them with strips of aluminum foil during the last 15 minutes.

Step 12: Cool Remove from the oven and cool on a wire rack for at least 1 hour. This allows the filling to set so it won’t be runny when you slice it.
The Apple Debate That Divided Our Family Every Single October
Every fall, the same argument. My aunt insisted on Granny Smiths — tart, firm, structured. My mother swore by Honeycrisps — sweet, fragrant, soft enough to melt into the sauce. My uncle, the quiet one, would show up with a bag of Cortlands from the farm stand up the road and set them on the counter without saying a word, like an unopened verdict.
Not Sure What to Cook Today?
Open your fridge, pick a few ingredients… and turn them into a real recipe in seconds.
No guessing. No waste. Just simple, nostalgic meals.Grandma took all three.
She was right about that too. Single-variety pies — no matter how good the apple — tend to go one of two ways: all mush or all crunch. The magic in this recipe is the combination. Granny Smiths hold their shape and add backbone. Honeycrisps dissolve gently and perfume the filling. Cortlands bridge the two — body without dominance.
Serious Eats explains this perfectly: different apple varieties break down at different temperatures, so mixing them creates a filling with layers of texture rather than one homogenous slump. Grandma never read Serious Eats. She just knew pie.
The apple combination that wins every time (for one 9-inch deep-dish pie):
- 3 Granny Smith apples — tart, firm, holds structure under heat
- 2–3 Honeycrisp apples — sweet, fragrant, melts softly into sauce
- 1–2 Cortland or Braeburn apples — the quiet, balancing middle ground
Total weight after peeling and coring: approximately 2½ to 3 pounds — about 6 to 7 medium apples.
💡 Grandma’s Tip: The night before, she peeled and sliced the apples and left them in a covered bowl in the fridge. “Apples need to breathe before a pie,” she’d tell us. It sounds like superstition. It isn’t — the cold air drives off surface moisture, which means less liquid pooling under the crust during baking.
When Things Go Sideways — The Honest Troubleshooting Section
Runny filling: You either skipped maceration, poured in the pooled juice, or cut too soon. Fixable every time.
Soggy bottom crust: Bake on the lower rack, start at high heat, and make sure your filling wasn’t too wet going in. You can also brush the raw bottom crust with egg white before filling — it creates a moisture barrier. AllRecipes specifically recommends this for apple pies with naturally high moisture content.
Crust shrinks: Dough was stretched during shaping, or it didn’t rest long enough after lining the pan. Refrigerate the lined pan before adding filling.
Apples too firm: Slices were too thick, or baking time was cut short. Stick to ¼-inch and trust the full time.
Tough crust: Too much water developed the gluten. Add slowly, stop early. Joy of Baking identifies over-watering as the most common and most avoidable pie crust mistake.
Storing the Pie (On the Rare Occasion It Survives Day One)
In our family, a full pie never made it to day three. But just in case:
- Counter: Covered loosely with a cloth, up to 2 days. Crust stays crispest this way.
- Refrigerator: Tightly wrapped, up to 4 days. Reheat slices in a 350°F oven for 10 minutes — the crust revives beautifully.
- Freezer: Baked pie, wrapped in plastic then foil, keeps up to 4 months. Per USDA food safety guidelines, properly wrapped baked goods maintain full quality within that window.
Not Sure What to Cook Today?
Open your fridge, pick a few ingredients… and turn them into a real recipe in seconds.
No guessing. No waste. Just simple, nostalgic meals.Other Recipes From the Same Kitchen That Raised This Pie
If this recipe speaks to you — if you believe that food made slowly and without shortcuts simply tastes better than anything else — you’ll feel at home with these:
- 🍞 Classic White Bread Recipe — the honest loaf that sat on American counters before anyone decided sliced bread was an improvement
- 🥔 Cheesy Potato Casserole Recipe — the holiday side dish that disappears before anything else does, every single time
- 🍖 Meatloaf with Brown Sugar Glaze — a weeknight dinner that makes Monday feel survivable
- 🥩 BBQ Meatballs Slow Cooker Potluck Recipe — the one you always carry home in an empty pot
- 🌽 Cornbread and Buttermilk Sandwich — a Southern tradition that deserves a serious revival in modern kitchens
And if your pantry is full but your inspiration has run dry, try our completely Free Recipe Maker from Ingredients — enter whatever you have on hand and it matches you with real, tested old-fashioned recipes from our full archive. No signup. No paywall. No ads. Just old-school cooking made easy.
The Last Pie She Ever Made
Three weeks before she passed, grandma made one more pie. She moved more slowly that year, but her hands still knew exactly what to do. She crimped the edges without looking. She felt the dough between her palms and said “ready” before any of us could tell a difference.
We sat around the table that evening, all of us, and ate it warm with vanilla ice cream. Nobody said anything of consequence. It was the kind of silence that isn’t uncomfortable — the kind that means everyone is exactly where they want to be, doing exactly what they want to do, and they know it.
That is what Grandma’s old fashioned apple pie recipe from scratch really is.
It isn’t a dessert. It’s a reason to sit down together. It’s the smell that fills a house and makes everyone appear from wherever they were. It’s the one thing on the table that nobody has to be asked twice to reach for.
Bake it this weekend. Let it cool properly. Sit everyone down. Don’t say anything.
Let the pie do the talking.
Published on NostalgicEats.com | Classic American Comfort Recipes Explore more at: nostalgiceats.com