Old-Fashioned Homemade Fudge Brownies: A Complete Guide to Rich, Decadent Brownies
Old-Fashioned Homemade Fudge Brownies: A Complete Guide to Rich, Decadent Brownies
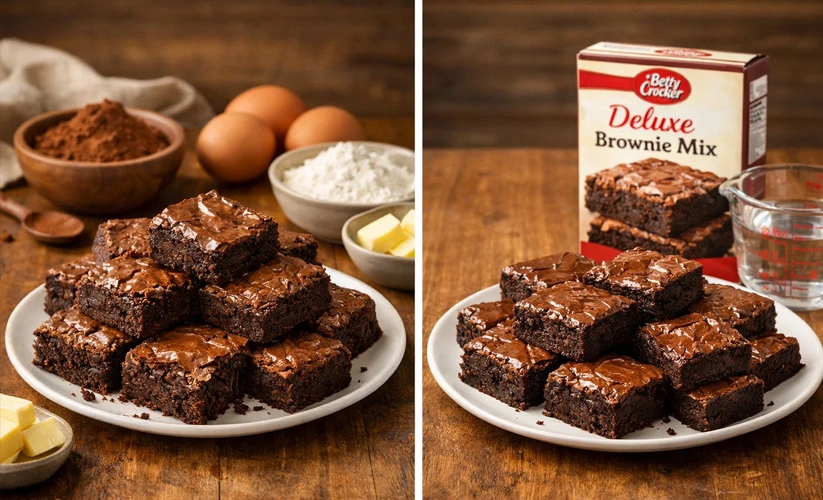
There’s nothing quite like the aroma of homemade brownies baking in the oven—a nostalgic fragrance that transports us back to simpler times. Unlike boxed mixes that promise convenience, old-fashioned homemade fudge brownies deliver authentic flavor, better texture, and the satisfaction of baking from scratch. Whether you’re curious about brownie calories homemade or simply want to master the perfect brownie recipe, this guide will walk you through everything you need to know.
Whether you’re curious about brownie calories homemade or simply want to master the perfect brownie recipe, this guide will walk you through everything you need to know. Understanding the nutritional value of chocolate brownies helps you enjoy these decadent treats while making informed dietary choices. For a detailed side-by-side breakdown of how homemade and box mix brownies compare nutritionally, this brownie calories homemade vs box mix comparison is a great companion read.
Preparation Time & Baking Information
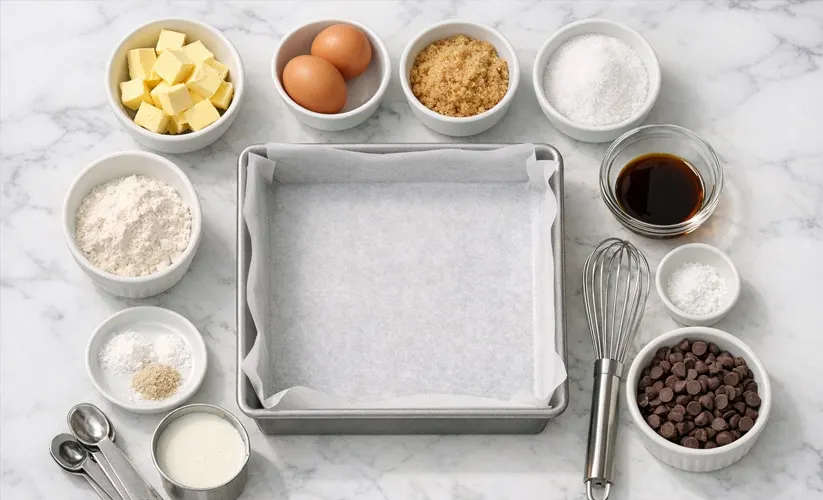
Ingredients
Dry Ingredients:
- 3/4 cup all-purpose flour (90g)
- 1/2 cup unsweetened cocoa powder (48g), Dutch-process or natural
- 1/2 teaspoon baking powder
- 1/4 teaspoon sea salt
Wet Ingredients:
- 1 cup (2 sticks) unsalted butter (226g), plus extra for greasing
- 2 cups granulated sugar (400g)
- 4 large eggs, room temperature
- 2 teaspoons pure vanilla extract
- 4 ounces unsweetened chocolate (113g), finely chopped or high-quality chocolate chips
Optional Mix-Ins:
- 1 cup semi-sweet or dark chocolate chips (175g)
- 1/2 cup chopped walnuts or pecans (60g)
- 2 tablespoons instant espresso powder (for deeper chocolate flavor)
Step-by-Step Baking Process
Step 1: Prepare Your Pan Begin by preheating your oven to 350°F (175°C). Line a 9×9 inch square baking pan with parchment paper, allowing the edges to overhang slightly for easy removal. Alternatively, grease the pan thoroughly with butter to prevent sticking. This preparation ensures your brownies release cleanly after baking.
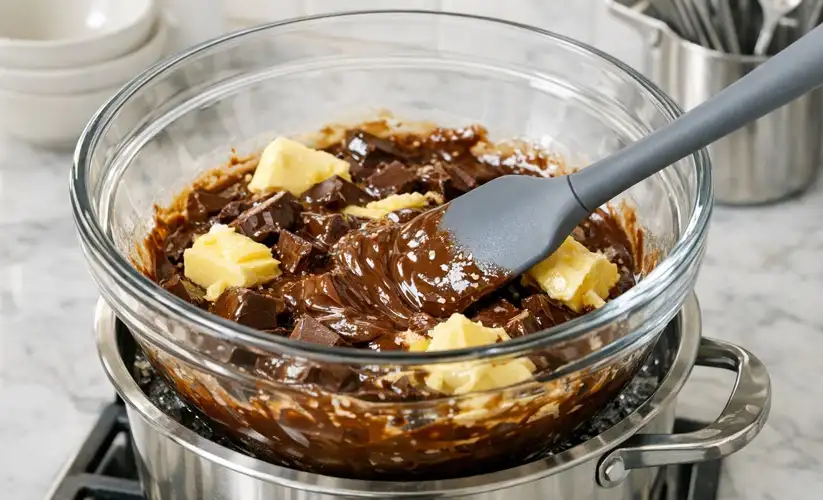
Step 2: Melt the Chocolate and Butter In a medium heatproof bowl, combine the chopped unsweetened chocolate and 1 cup of butter. Place this bowl over a pot of gently simmering water (double boiler method), stirring occasionally until completely melted and smooth. Alternatively, microwave in 30-second intervals, stirring between each interval, until fully combined. The temperature should feel warm but not too hot to touch. Remove from heat and let cool for 5 minutes—this prevents eggs from cooking when added later.
Step 3: Combine Wet Ingredients In a large mixing bowl, whisk together the melted chocolate mixture, 2 cups of granulated sugar, and room-temperature eggs. Add these ingredients one egg at a time, whisking thoroughly after each addition to create a smooth, glossy batter. Stir in the vanilla extract. This step is crucial for incorporating air into the batter, which creates the characteristic fudgy crumb structure. The mixture should be well-combined and slightly thick.

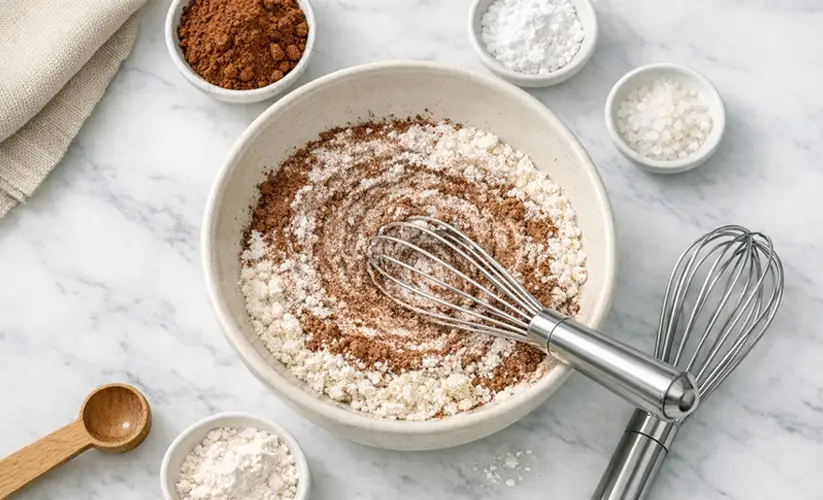
Step 4: Mix Dry Ingredients In a separate bowl, whisk together the all-purpose flour, unsweetened cocoa powder, baking powder, and sea salt. Sifting these dry ingredients helps remove lumps and distributes the cocoa powder evenly, resulting in consistent chocolate flavor throughout your brownies. For maximum smoothness, you can sift these ingredients directly over the wet mixture.
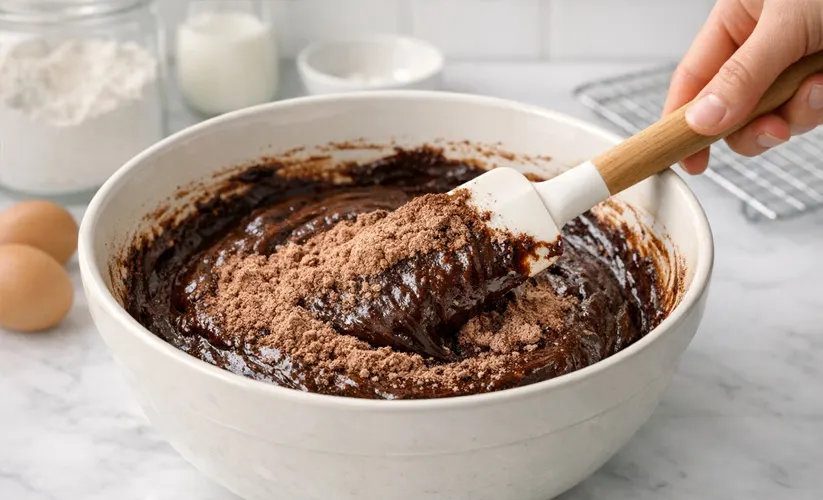
Step 5: Combine Wet and Dry Gently fold the dry ingredient mixture into the wet batter using a rubber spatula. Mix until just combined—avoid overmixing, which can make brownies tough and cake-like rather than fudgy. A few streaks of flour are acceptable; overmixing develops gluten, which compromises the desired texture. This is where many home bakers make mistakes, so fold gently and deliberately.
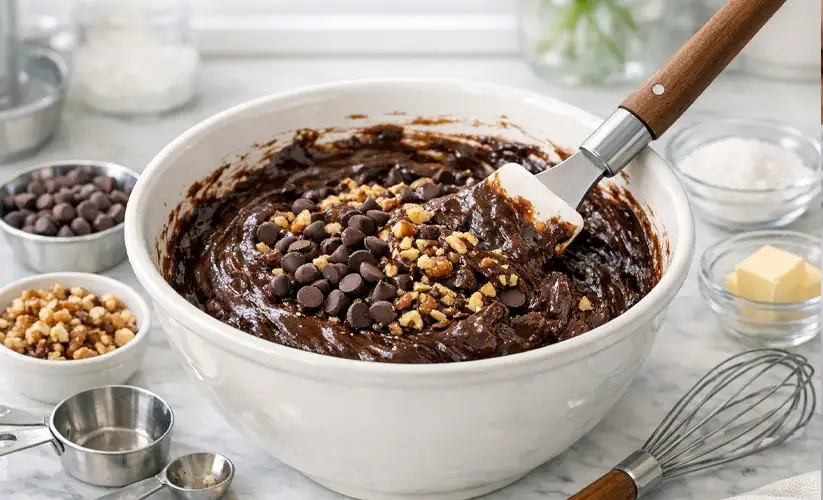
Step 6: Add Optional Mix-Ins If using chocolate chips, chopped nuts, or instant espresso powder, fold these into the batter now. These additions enhance flavor complexity and texture. Espresso powder, in particular, deepens the chocolate flavor without adding coffee taste. Distribute mix-ins evenly throughout the batter.
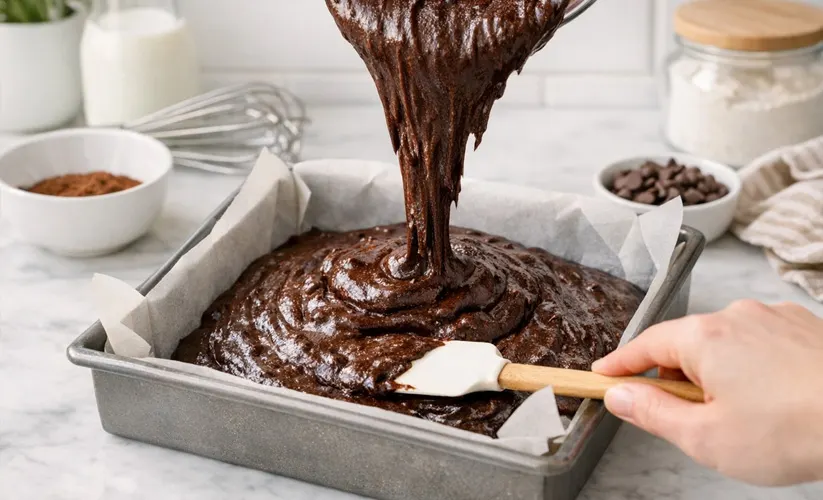
Step 7: Pour and Spread Pour the brownie batter into your prepared pan, spreading it evenly with a spatula or the back of a spoon. Use gentle, smooth motions to create an even layer. Try to achieve uniform thickness so brownies bake evenly and cook at the same rate.
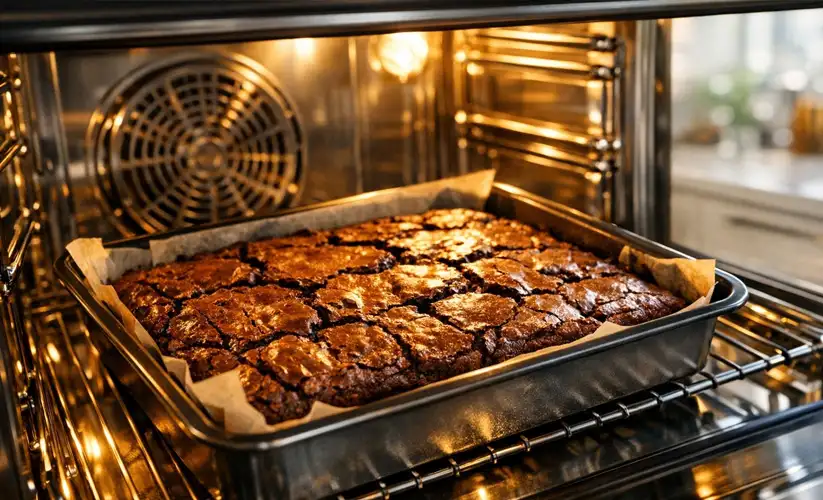
Step 8: Bake Place the pan in the preheated 350°F oven and bake for 28-32 minutes. Brownies are done when a toothpick inserted near the center comes out with a few moist crumbs attached—not completely clean, as that indicates overbaking and a drier brownie. The top should appear set with slight cracks visible. Overbaking is the most common error; remove brownies when they still appear slightly underdone in the center.
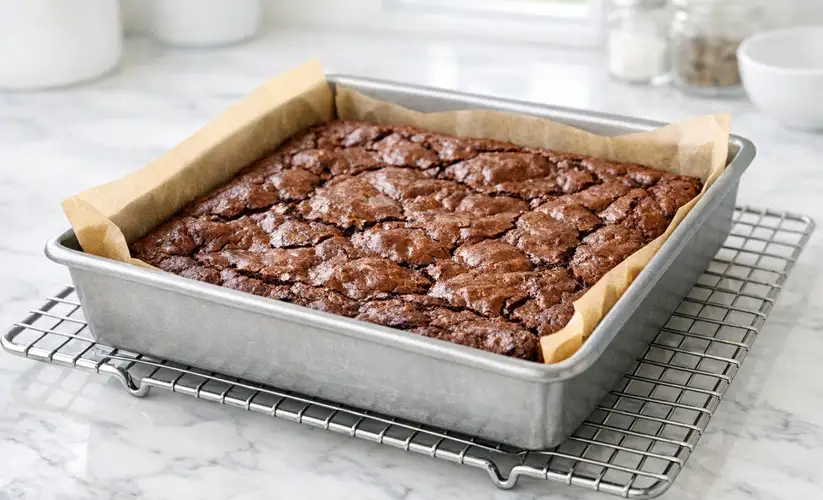
Step 9: Cool Completely Remove from the oven and allow brownies to cool in the pan for at least 30 minutes before cutting. This resting period allows the structure to set, making cutting easier and preventing crumbly brownies. For cleanest cuts, cool to room temperature or even refrigerate for 1-2 hours before slicing.
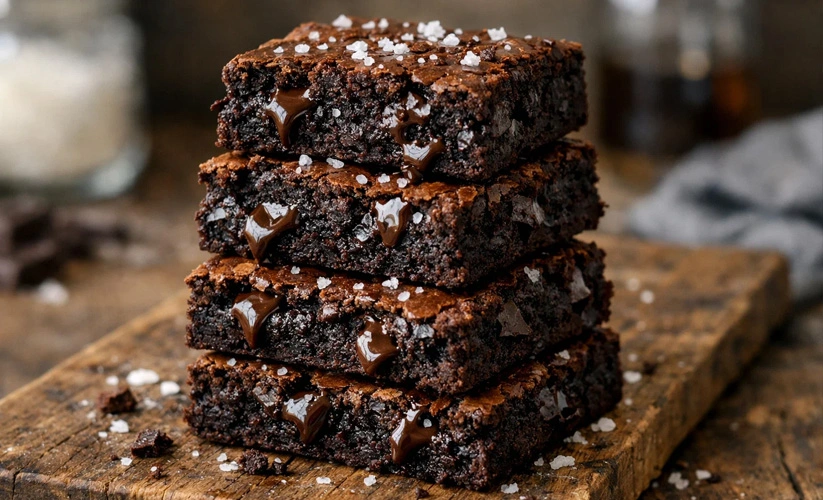
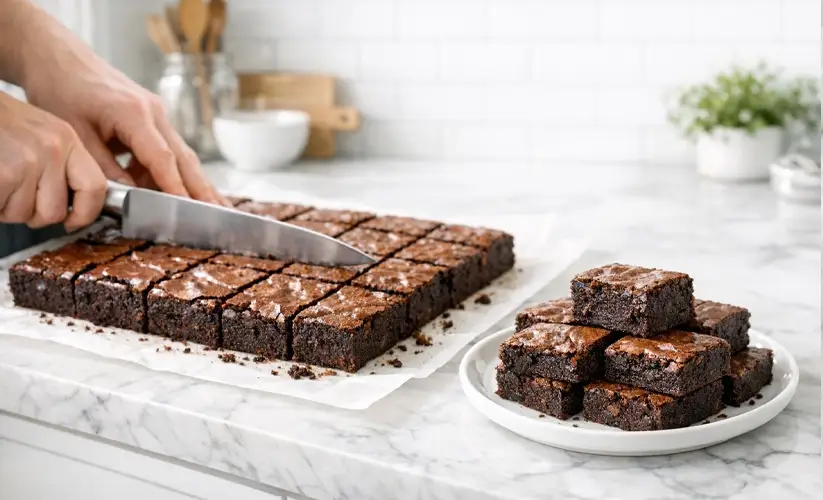
Step 10: Cut and Serve Using a sharp knife dipped in hot water and wiped clean between cuts, divide the cooled brownie into 16 equal pieces (4 cuts across, 4 cuts down). This creates 2″ × 2″ squares. For a complete guide on portion sizes and cutting techniques for every occasion, the brownie serving size and portions guide covers everything you need. For extra fudgy brownies, serve at room temperature; for slightly firmer brownies, serve chilled.
Pro Tips for Perfect Homemade Brownies
Temperature Matters: Room-temperature eggs incorporate more smoothly into the batter, creating a better texture. Remove eggs from the refrigerator 30 minutes before baking.
Quality Chocolate: Use high-quality unsweetened chocolate or cocoa powder. The chocolate flavor is the star, so invest in quality ingredients. Dutch-process cocoa adds depth; natural cocoa provides brightness.
Don’t Overbake: This is the #1 mistake. Brownies continue cooking after removal from the oven due to carryover heat. Slightly underdone brownies firm up as they cool.
Espresso Enhancement: Two tablespoons of instant espresso powder intensifies chocolate flavor without adding coffee taste—a professional baker’s secret.
Shiny, Crackly Top: Adding extra sugar creates that coveted crackled surface. Some bakers whip the eggs and sugar before adding chocolate for added air.
Cut Cleanly: Use a hot knife (dipped in hot water and wiped dry) for clean edges. Cold, wet brownie-slicing introduces moisture that ruins texture.
Storage Strategy: Store cooled brownies in an airtight container at room temperature for up to 5 days. Refrigerate for up to 10 days or freeze for up to 3 months.
Nutritional Information & Brownie Calories Homemade
Understanding the nutritional value of chocolate brownies helps you enjoy them mindfully. Here’s the breakdown per serving (one 2″ × 2″ brownie from this recipe):
- Calories: 240-260 kcal
- Total Fat: 14g (saturated fat 8g)
- Cholesterol: 65mg
- Sodium: 95mg
- Total Carbohydrates: 32g
- Dietary Fiber: 2g
- Sugars: 25g
- Protein: 3.5g
Brownie Calories Homemade vs. Box Mix: A homemade brownie (240 calories) is typically 30-40% higher in calories than a boxed mix brownie (160-170 calories) because homemade recipes use full amounts of butter and sugar for superior flavor and texture. The nutritional value of chocolate brownies reflects the quality ingredients used — more fat and sugar equal richer flavor and authentic brownie experience. If dairy allergies are a concern for anyone you are baking for, the brownie mix dairy and allergy guide is essential reading before you start.
Frequently Asked Questions (FAQs)
Q1: What causes my brownies to turn out cake-like instead of fudgy? A: Cake-like brownies result from overmixing the batter or overbaking. Overmixing develops gluten, which creates lift. Bake just until a toothpick shows a few moist crumbs, not a clean pick. Use less flour or reduce baking time by 1-2 minutes.
Q2: Why are homemade brownies higher in brownie calories homemade compared to store-bought? A: Homemade recipes use whole sticks of butter and generous sugar for authentic flavor and fudgy texture. Box mixes reduce these ingredients for cost savings. The nutritional value of chocolate brownies reflects this quality difference—more indulgent ingredients equal more calories but superior taste.
Q3: Can I make brownies without eggs for a vegan version? A: Yes! Replace each egg with 1/4 cup aquafaba (chickpea liquid) or a vegan egg replacer. The texture differs slightly but remains fudgy and delicious.
Q4: How do I store homemade brownies to maintain freshness? A: Cool completely, then store in an airtight container at room temperature for up to 5 days. Refrigerate for up to 10 days or freeze for up to 3 months. Thaw at room temperature before serving.
Q5: What’s the difference between brownie calories homemade and store-bought brownie calories? A: Homemade brownies average 240-260 calories per serving, while store-bought/boxed mix brownies range 160-200 calories. The difference reflects ingredient ratios—homemade uses more butter and chocolate, contributing additional fat and flavor.
Conclusion
Mastering the art of old-fashioned homemade fudge brownies connects you to baking traditions spanning generations. While understanding brownie calories homemade helps inform dietary decisions, the true reward lies in creating something extraordinary from simple ingredients. For a wonderful look at how this nostalgic baking culture developed in American homes, Vintage Life of USA on YouTube brings that era beautifully to life. The nutritional value of chocolate brownies becomes less important when you are savoring a perfectly fudgy, rich square of homemade goodness shared with family and friends.